How to Format NTFS Drive on Mac in 2023, 100% Free
- Support
- Dynamic News
- Kate
1470
- 2023-11-15 09:54:33
NTFS (New Technology File System) is widely used in Windows environments due to its advanced features, such as security permissions and large file support. Formatting an NTFS drive on your Mac is beneficial when you require compatibility with Windows systems or need to manage files exceeding the 4GB limit of the FAT32 format. By formatting to NTFS, you gain the ability to read and write files on the same drive from both macOS and Windows.
Part 1. Why Do You Need to Format an NTFS Drive?
NTFS is a proprietary file system developed by Microsoft, primarily used with Windows operating systems. While macOS can read from NTFS drives out of the box, it lacks native write support. Formatting an NTFS drive on a Mac allows you to overcome this limitation, enabling both read and write access. This is particularly useful when you need to use the same drive across Windows and macOS systems.
Part 2. How to Format NTFS Drives on Mac?
Here are 2 proven methods on how to format NTFS drives on Mac.
Method 1. Format NTFS drive using Disk Utility
When it comes to managing your storage devices on macOS, Disk Utility emerges as a versatile and user-friendly tool that can perform a multitude of tasks. One of its essential functions is formatting drives, which proves particularly useful when you need to prepare an NTFS drive for use on your Mac.
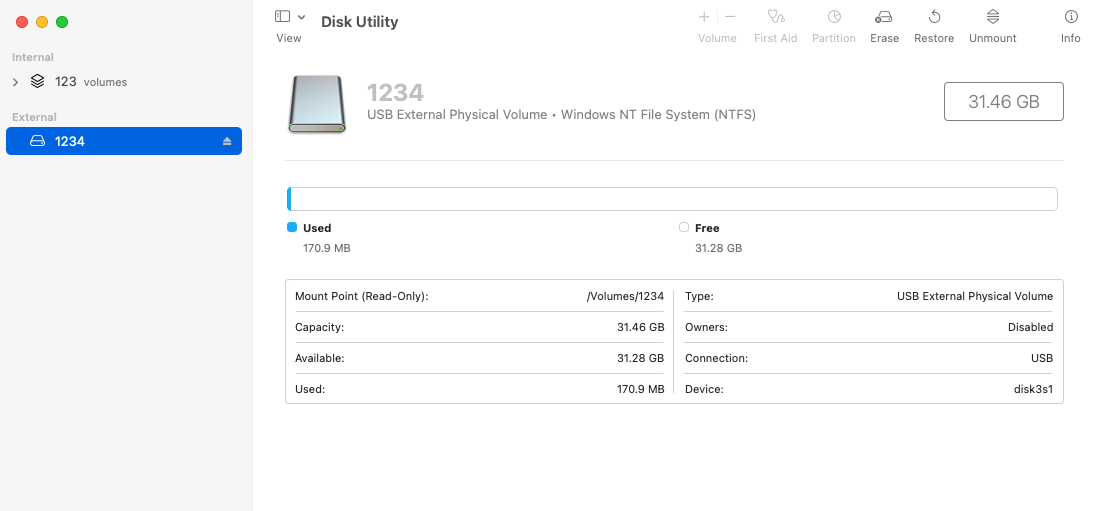
Step 1. Connect your NTFS to your Mac, and go to Launchpad to find the Disk Utility.
Step 2. Select the physical disk of your NTFS drive and click Erase.
Step 3. Give it a name, select a proper file system, and set the scheme to GUID Partition Map.
Step 4. Click Erase to format your NTFS drive.
Method 2. Format NTFS drive using Terminal
Another easy way is to use Terminal to format NTFS. The Terminal is a command-line interface that allows you to interact directly with your operating system. Formatting an NTFS drive through Terminal provides a level of customization and automation not always achievable through graphical tools.
Step 1. Go to Launchpad and launch Terminal.
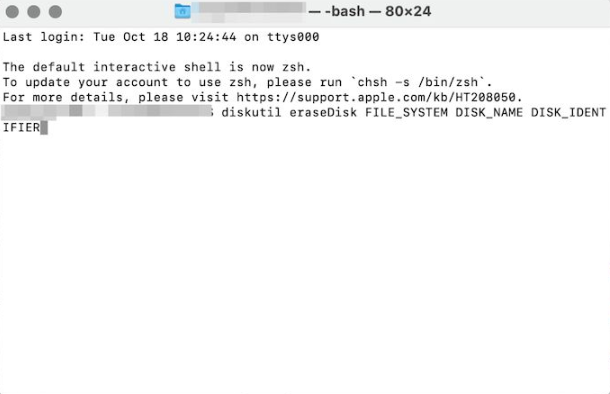
Step 2. Type: diskutil list and hit Enter.
Step 3. Type the following command: diskutil eraseDisk file_system drive_name disk_identifier and press Enter to format the NTFS drive. Here, You need to replace file_system with the one you want to format the drive with, disk_name with the name you want the formatted drive to have, and the disk identifier with the one you acquired in Step 2.
Bonus Tips: How to enable NTFS drives on Mac without formatting or losing data?
The easiest and most effective way to enable NTFS drives on Mac is to use a reliable third-party NTFS driver. Kingshiper NTFS for Mac is highly recommended. Its intuitive interface means that you can connect the NTFS drive and start accessing files without any intricate setup process. Moreover, the software has prioritized the user's safety, minimizing the risk of data loss or corruption. With features like automatic drive mounting and an integrated disk health monitor, you're always aware of your drive's status and performance.
It has several advantages:
l Quick access to read and write NTFS drives
l Ensure data integrity and prevent data loss
l Fully compatible with M1 and most mainstream operating systems
To use Kingshiper NTFS for Mac, you can write NTFS drives in one click.
Step 1. Launch Kingshiper NTFS for Mac and connect an NTFS drive to your Mac.
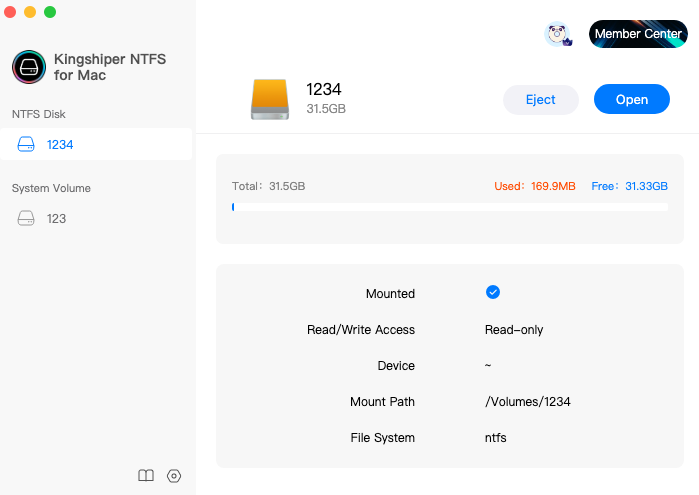
Step 2. Click "Open" in the top right corner.
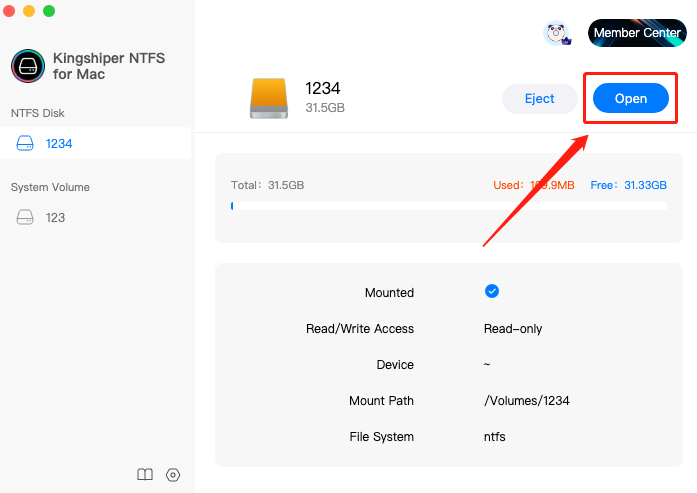
Step 3. Enter the password to get access to write your NTFS drive.
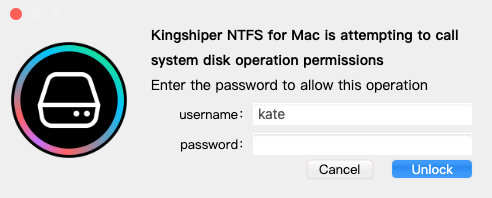
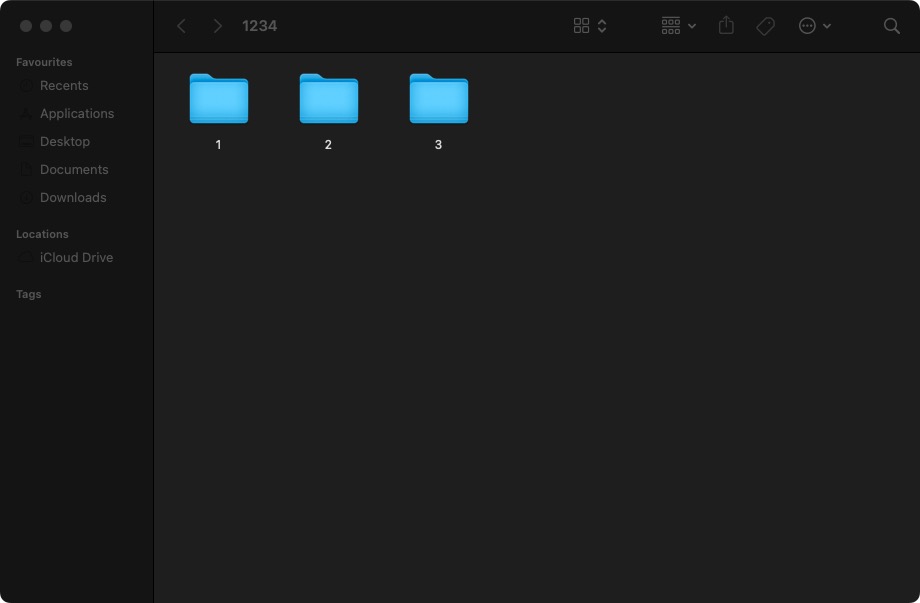
Step 4. Then, you can open it to check, read, write, and even modify saved data on the NTFS drive.
Conclusion
On this page, We have now shown you how to format NTFS drives on Mac. But if you don’t want to lose any data, you are expected to use Kingshiper NTFS for Mac for the purpose. Kingshiper NTFS for Mac should be the best option for you to enable NTFS drives on Mac. With the help of this software, you also can view and monitor the drive space usage.
You May Also Like
1. [4 Methods] How to Use NTFS Drive on Mac 2023
2. How to Format A USB Drive to NTFS on Mac in 2023
3. How to Enter Recovery Mode in Kingshiper NTFS for Mac


