3 Easy Ways to Mount NTFS Volumes on Mac
- Support
- Dynamic News
- Kate
1585
- 2023-11-11 15:58:33
When it comes to blending style with substance, Mac has long been the top choice for tech enthusiasts and creative professionals. The sleek design and intuitive interface of Apple's devices make them a joy to use. However, if you're a Mac user who also interacts with Windows-based systems, you've probably encountered some challenges in file sharing. One of the most common hurdles is dealing with external drives formatted in NTFS, the standard file system for Windows.
By default, macOS provides read-only access to NTFS volumes, allowing you to view the content but not make any changes or additions. This limitation can be a source of frustration for those who frequently switch between Mac and Windows environments.
The good news is that there are three easy methods to overcome this challenge and grant your Mac full read-write access to NTFS volumes. In this article, we'll show you how to make full use of these methods, each tailored to different preferences and levels of technical expertise.
Method 1. Mount NTFS Using Kingshiper NTFS for Mac
For those who prefer a straightforward and user-friendly solution, Kingshiper NTFS for Mac is the ideal choice. It acts as a bridge between your Mac and NTFS-formatted drives, making the process a breeze. With Kingshiper NTFS for Mac, you can not only mount NTFS drive automatically but also you can edit, delete, and even modify the files in one click. Once your NTFS drive is mounted, you have full control over your files and folders. Editing, deleting, and modifying files become effortless tasks with just a click. Moreover, It also supports you to safely remove your disks.
Free Download Kingshiper NTFS for Mac:
How to Use Kingshiper NTFS for Mac:
Step 1. Launch Kingshiper NTFS for Mac and connect the NTFS drive to your Mac.
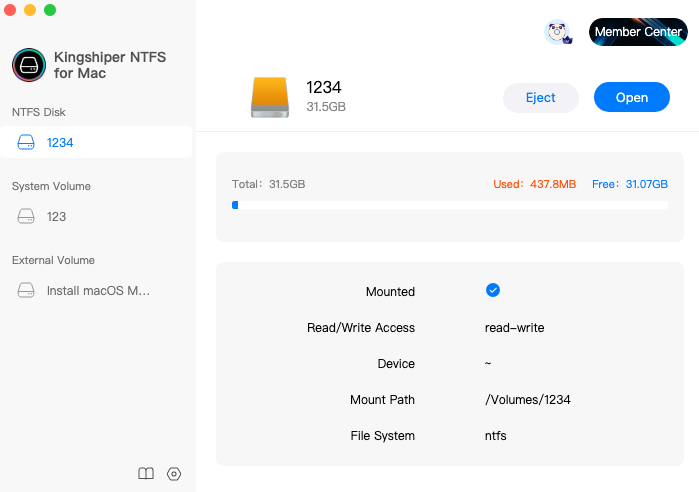
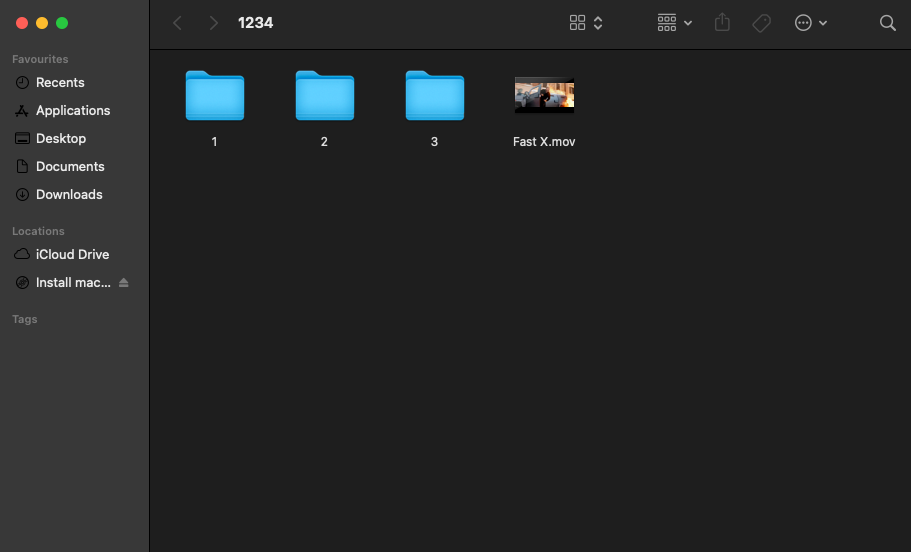
Step 2. Select the NTFS drive and you will find that it is automatically mounted. Then, you can click "Open" to get access to edit, delete, copy, and even modify the files.
Method 2. Mount NTFS Using Terminal
For editing and changing Mac computers and storage devices, Terminal as a Mac built-in utility, is widely used. It is also possible to use this application to modify the NTFS drive so that Mac computers can access it. If you prefer a free and manual approach, Terminal is the most suitable answer for you. This method involves modifying system settings and requires some command-line knowledge, so proceed with caution.
Step 1. Go to Launchpad > Utilities > Terminal to start with.
Step 2. Type: sudo nano /etc/1234(Replace 1234 as your drive name), press Enter. (Enter password if prompted.)
Step 3. Go to Terminal and type LABEL=NAME none ntfs rw,auto,nobrowse, press Enter.
Note: You should change the NAME to the name of your NTFS drive.
Step 4. Press Ctrl + O to save and then press Ctrl + X to exit.
Step 5. Unmount the device and reconnect the NTFS drive again.
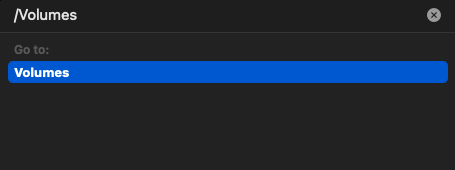
Step 6. Click Go > Go to Folder > type /Volumes and press Enter
Method 3. Mount NTFS Using Boot Camp Assistant
Boot Camp Assistant is a built-in utility provided by Apple for macOS that allows users to install and run Microsoft Windows on their Mac computers alongside macOS. When you boot into Windows through Boot Camp, you can read from and write to NTFS drives natively, as Windows naturally supports the NTFS file system. This allows you to interact with NTFS-formatted external drives, USB devices, and other storage media seamlessly.
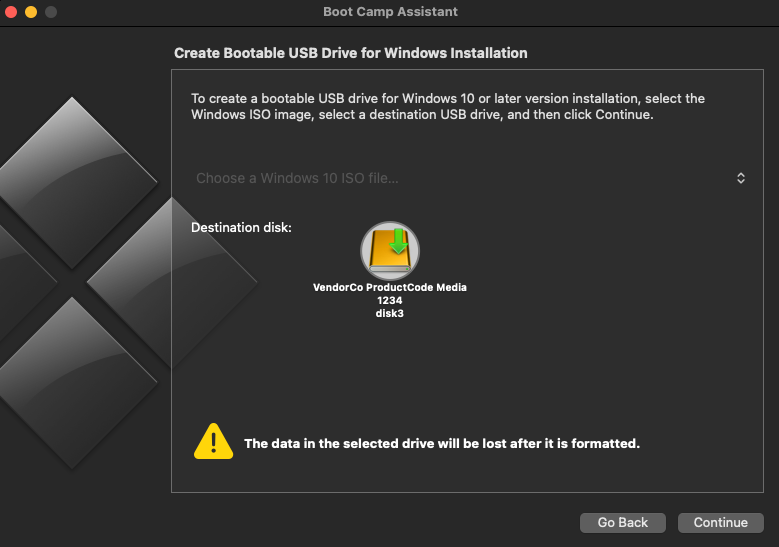
Step 1. Click Launchpad > Utilities > Boot Camp Assistant.
Step 2. Launch Bootcamp, click "Continue" and set it to boot into Windows on Mac.
Step 3. Restart the Mac computer and wait for the computer to boot into Windows.
Step 4. Connect the NTFS drive to the Mac computer and then you can access and write to files in the drive.
Final Words
In summary, Kingshiper NTFS for Mac, available for a fee, offers a reliable and user-friendly approach to mounting NTFS drives on a Mac. It's a trustworthy choice, especially for beginners who prefer a hassle-free experience over command-line operations. If you're a computer programmer, the second method is the most suitable for you. The final option is also a free choice, but if you tend to use it this way, remember to back up your files in advance. Ultimately, select the mounter that aligns with your specific needs and preferences.
You May Also Like
1. 2023 Top 5 NTFS Mounters for Mac
2. [4 Methods] How to Use NTFS Drive on Mac 2023
3. How to Format NTFS Drive on Mac in 2023, 100% Free


