[7 Steps]How to Remove Audio Mute by Using Kingshiper Audio Editor
- Support
- Software Tutorials
- Kate
1599
- 2024-02-18 17:59:08
Kingshiper Audio Editor is a professional and efficient audio editing software. It provides a variety of editing functions such as cutting, merging, mixing, noise reduction, and other functions. It also supports importing and exporting in a variety of audio formats and is easy to operate.
The software is characterized by its simplicity and ease of use. It is easy to use for both beginners and professionals. Using it we can re-edit recorded audio and create ringtones to make work life more fun!
How should you remove the mute part if you encounter it during audio editing? Here we share the detailed steps, take a look!
To remove the audio mute, proceed as follows:
Step 1: Open Kingshiper Audio Editor, select "Add File" and upload the audio you need to process to the software.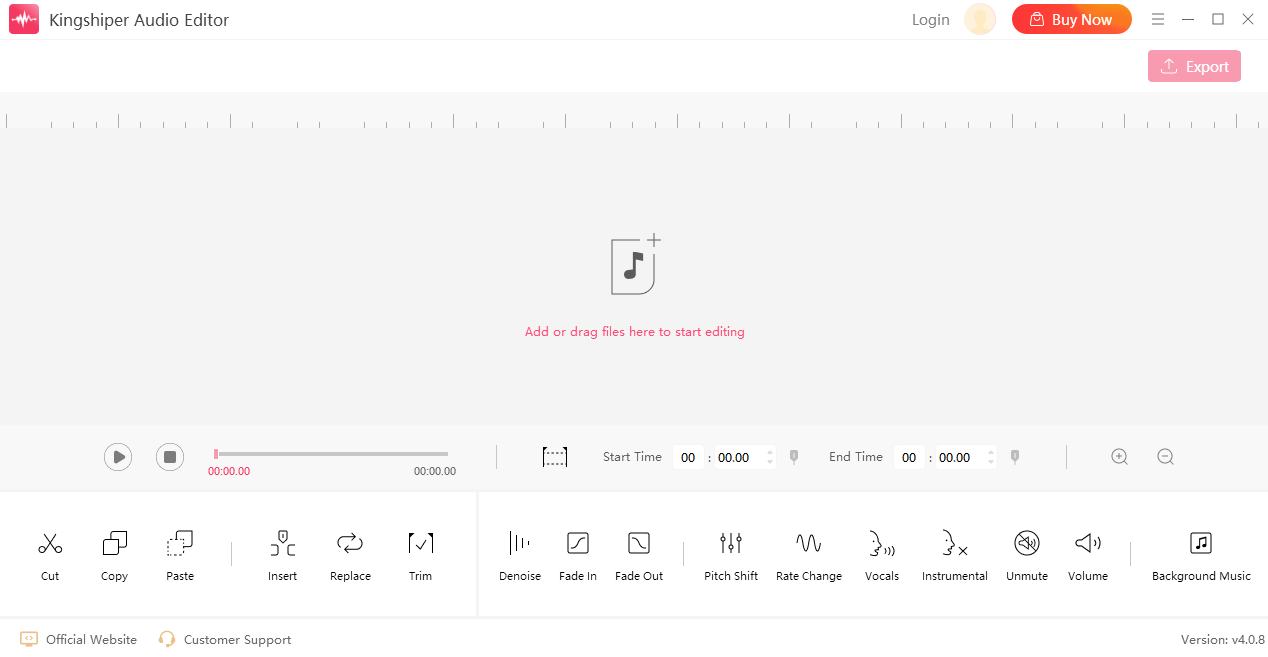
Step 2: Click on "Play" and listen while you judge the mute position.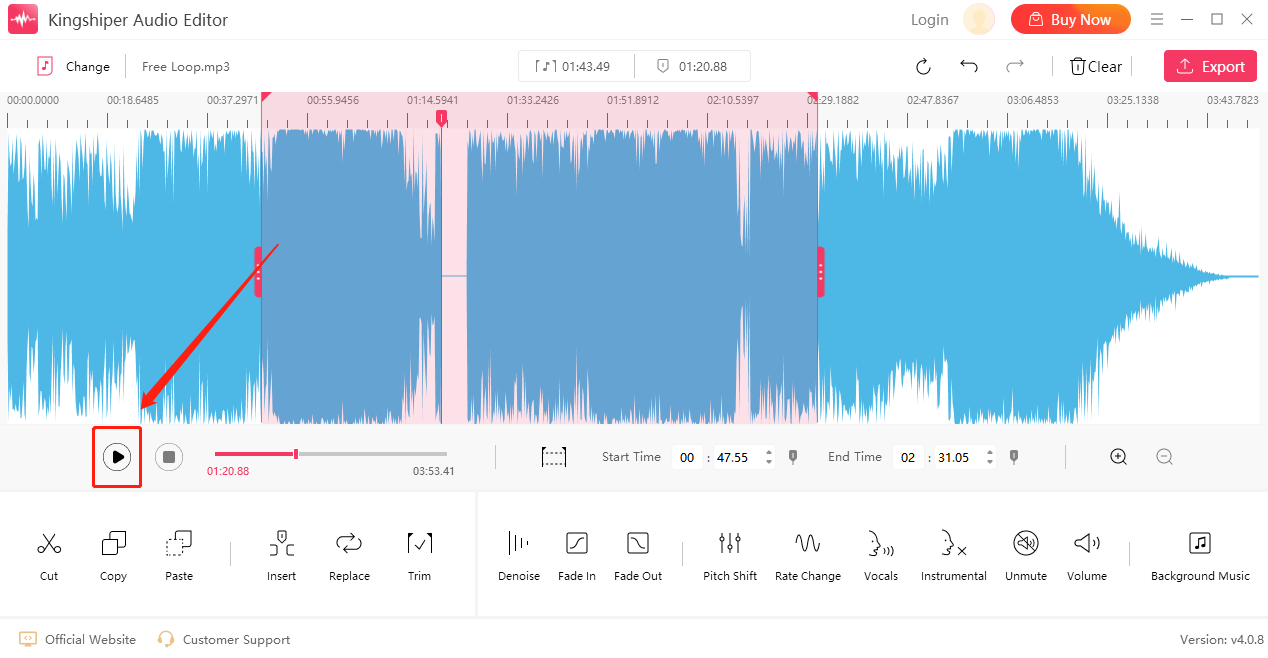
Step 3: Drag the cursor to select the mute clip.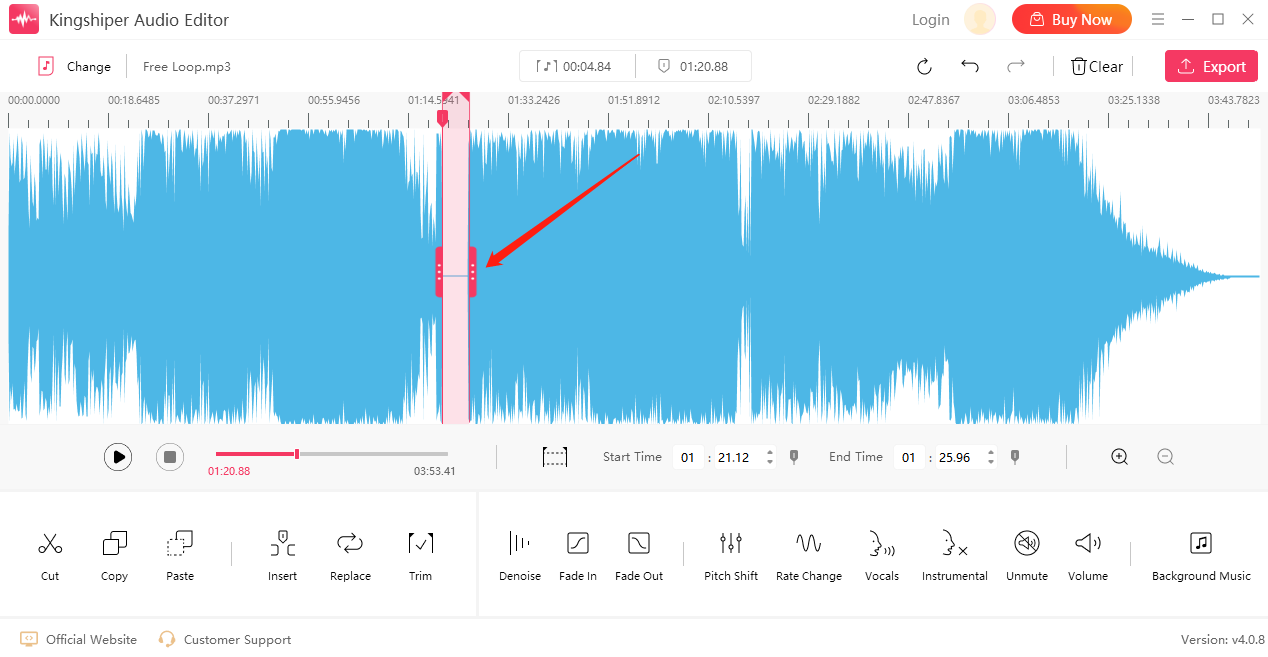
Step 4: Then, click on "Unmute" at the bottom.
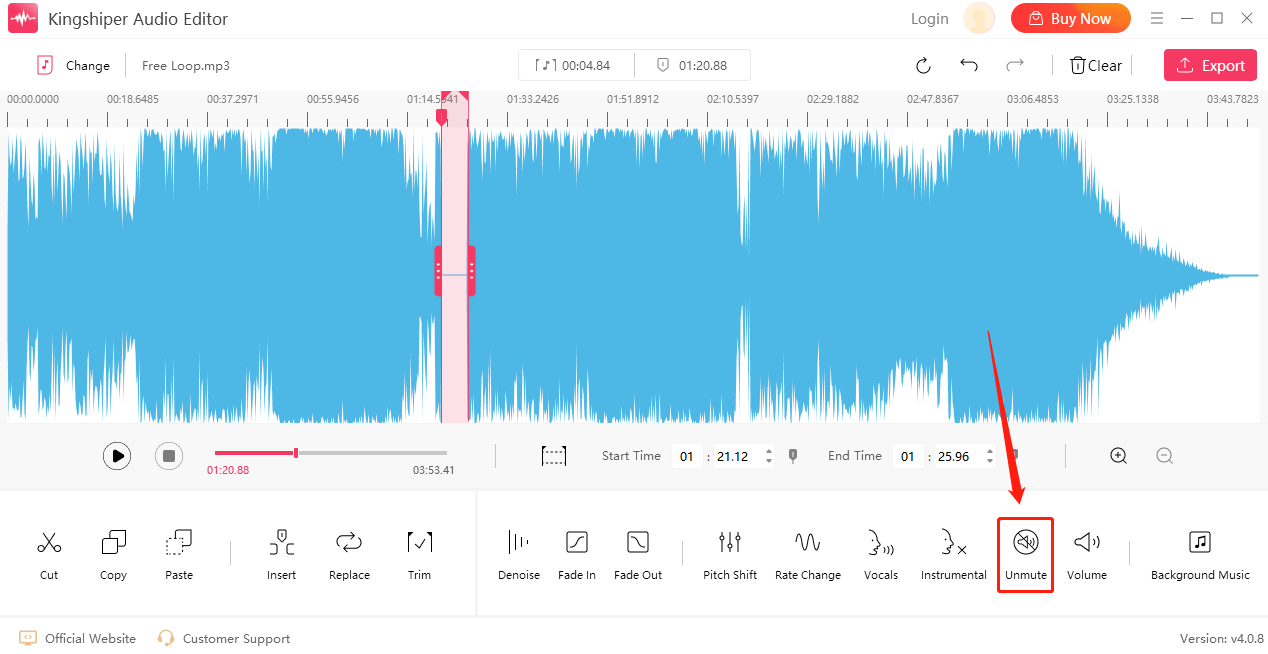
Step 5: As shown below, the mute clip has been successfully removed.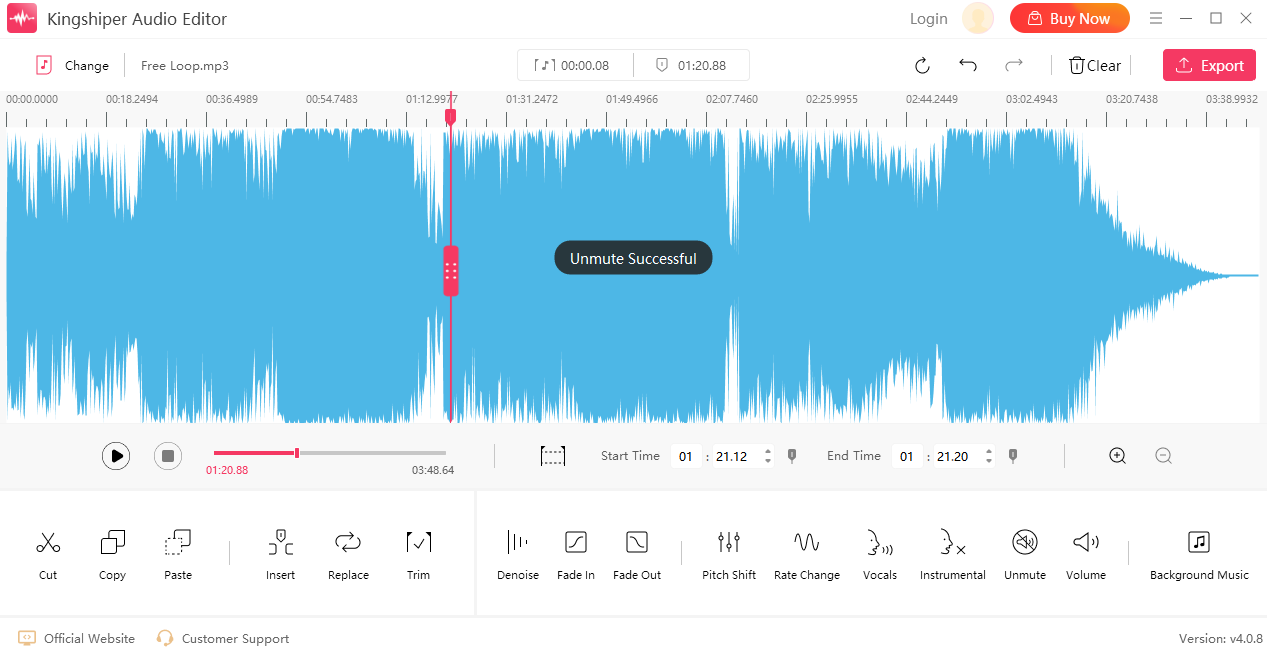
Step 6: Click on "Export" at the top right corner.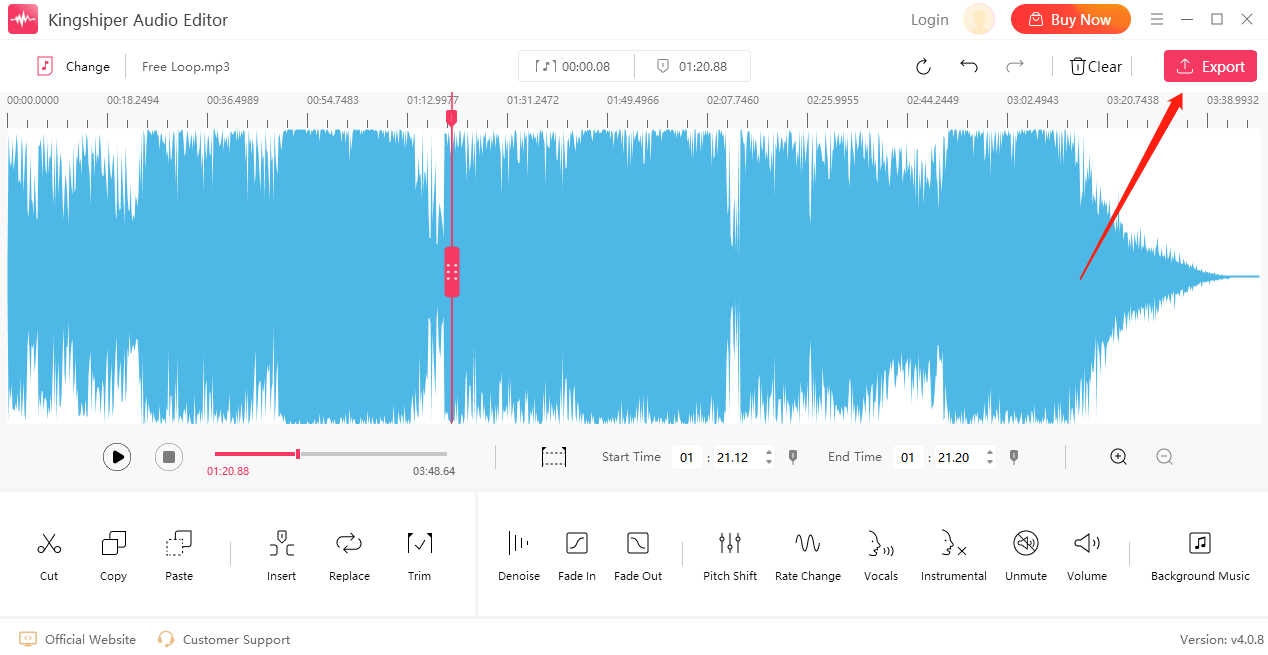
Step 7: Finally, adjust the output settings in the pop-up window and click "Export".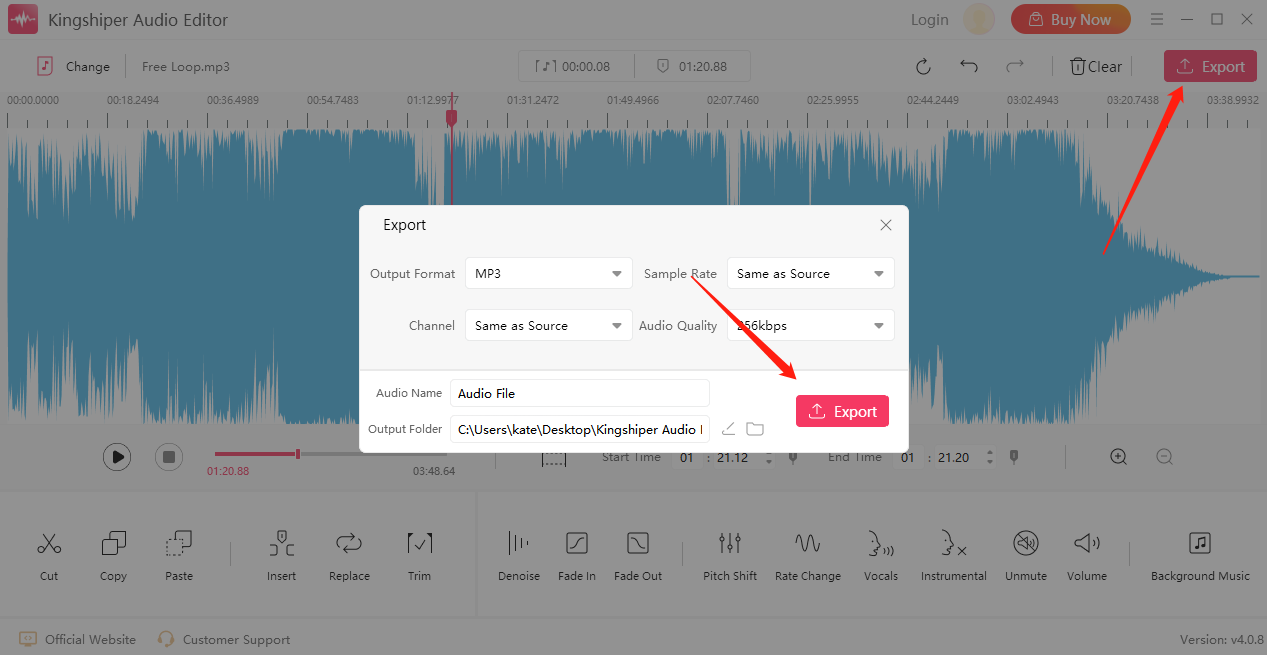
Once the file has been successfully exported, click on "Go to the output folder" to quickly find the audio file!