


How to Edit YouTube Audio in 2024
- Support
- Dynamic News
- Kate
 1685
1685- 2024-06-03 18:27:01


YouTube has become one of the most versatile platforms in the market, allowing users to upload videos of a variety of genres. People use YouTube to keep up with all major uploads throughout the world because it offers millions of hours' worth of video content. While you might think of YouTube as a platform for watching videos, it is also a significant platform for uploading informative content for the public.
Today, I will show you how to edit audio on YouTube, and moreover provide other alternative tools for you so that you can apply it if the built-in program doesn’t work as you expect.
Part 1. Edit YouTube Audio with YouTube Video Editor
YouTube Studio is YouTube's built-in video editor, which works in conjunction with YouTube to enable users to easily edit their uploaded videos. This led the market to put some finishing touches throughout the video to help them get the most impact from their uploads. However, the use of the built-in editor is considered important.
To edit sounds on YouTube Video Editor:
Step 1. Open YouTube and Access Avatar
Open youtube.com on your browser. And then, click your account’s image at the top right corner and choose “YouTube Studio”.

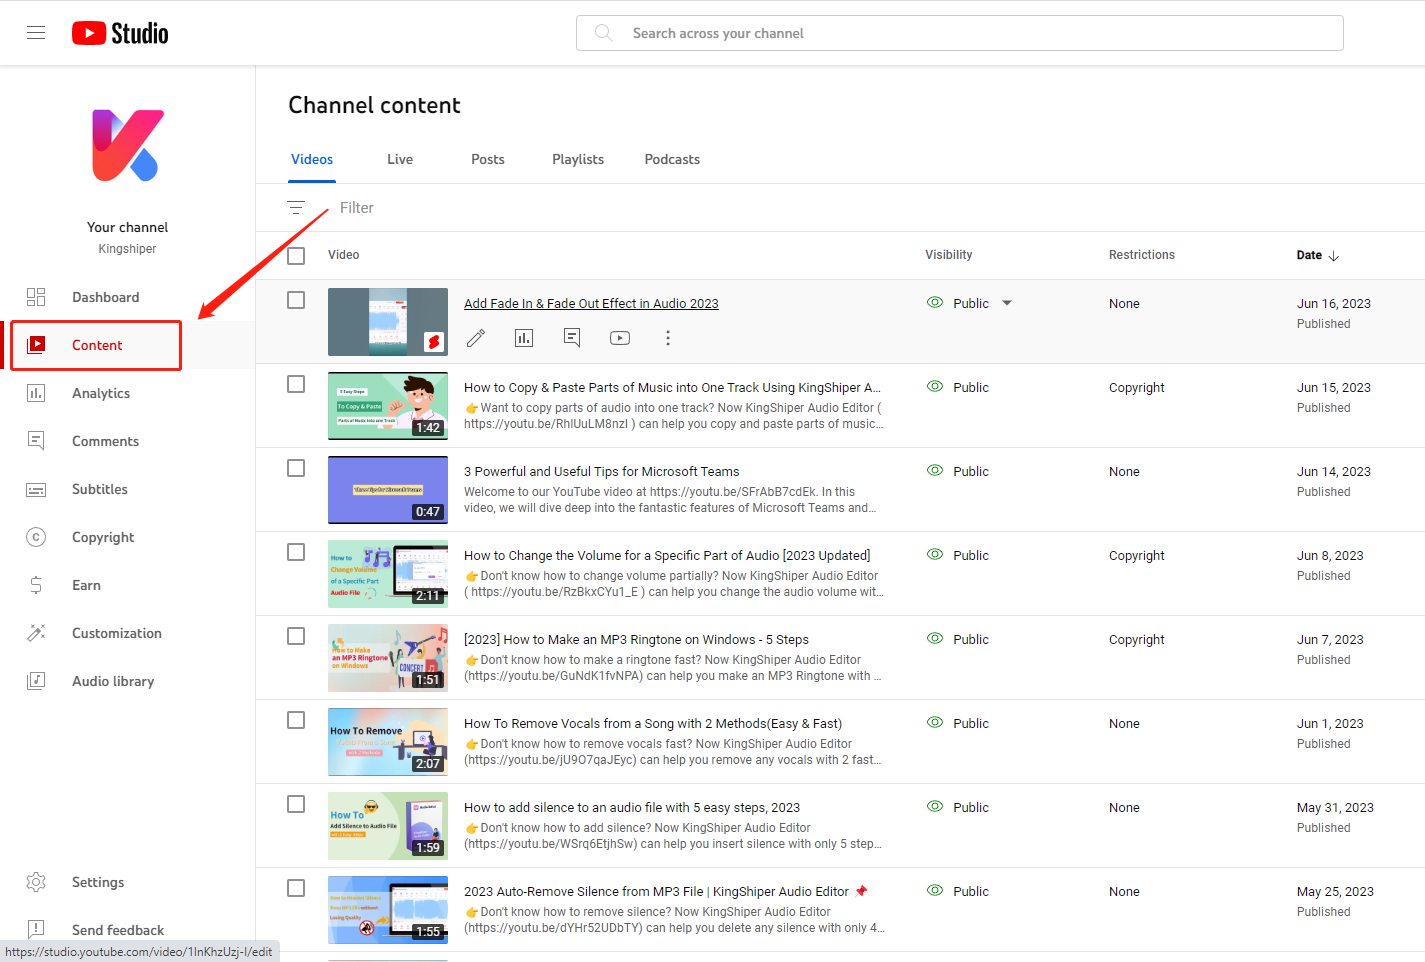
Step 2. Choose one Video
On YouTube Studio, choose “Content” and select one of your videos to start editing.
Step 3. Start Editing
Click “Editor” from the left pane. You can click “Audio +” to simply add audio to your YouTube Video, when you‘ve finished, you also can try to edit it.

Part 2. A Powerful Alternative to YouTube Video Editor - Kingshiper Audio Editor
If you want to better and separately edit audio files, the way we will talk about today is to use a third-party application Kingshiper Audio Editor. Kingshiper Audio Editor is a handy and all-in-one audio editing software that provides comprehensive features to process your audio files. Here are some basic effects:

Add fade-in/out
Denoise(Noise Reduction)
Volume Change
Voice Removal to create a karaoke track
Change audio pitch
Combine different audio into one track
Step 1. Launch and import Audio Files
You need to download and install Kingshiper Audio Editor on your desktop. Before you edit, choose the audio you want to use on YouTube Video.

Step 2. Upload an Audio File
Double-click to open the software, and drag or add the audio file into the software.

Step 3. Enlarge Audio Waveform
In order to get a suitable size to better process the audio file, press “Zoom In” or “Zoom Out”.

Step 4. Start to Edit
Choose one of the effects you need and add it to the audio file.

Step 5. Export with Highest Quality
When the editing is completed, click "Export" in the upper right corner. You can adjust the output settings in the pop-up window. When finished setting, click "Export".

The Bottom Line
That is all bout how to edit YouTube audio, I hope you can find a way that suits you best from our article. With a built-in tool available on YouTube, users can easily add the audio of their choice to the videos. As one of the best alternative tools, KingShiper Audio Editor also can help you edit audio easily, moreover, it allows users to do some further editing, such as removing background noise and adding fade-in or fade-out effects. So, let’s download it now and give it a try.
You May Also Like
1. Easy Guide to Edit the Background Music for Your YouTube Video
2. How to Quickly Use Kingshiper Audio Editor for Audio Files Editing in 2024
3. [For beginners] 5 Recommended High Quality Audio Editing Software


