


Top 3 Methods to Remove Vocals from A Song in 2024
- Support
- Dynamic News
- Kate
 2002
2002- 2024-06-03 18:20:35


Removing vocals from songs is essential for those who wish to use the tracks for re-recording, whether they are creating their own playback, practicing their vocal skills, paying tribute to famous singers, or simply for karaoke performances. Therefore, this article will show you some ways to remove vocals or greatly reduce vocals on any stereo song file to create a near-perfect instrumental or karaoke version.
Part 1. How to Remove Vocals with an Audio Editor
One of the most efficient and easiest ways is to use Kingshiper Audio Editor, which aims to tackle such requirements by offering users a dedicated desktop solution, that will allow them to add audio content and perform a wide range of editing processes, such as clipping, trimming, inserting additional audio content, or effects, such as denoise, voice removal, and unmute.
Now you can free download Kingshiper Audio Editor on your computer and start removing vocals from a song.
Step 1: After installing Kingshiper Audio Editor, open it with a double click of the mouse, drag and drop the audio into the software.

Step 2: As shown below, select the clip that needs to eliminate the human voice, and click on "Instrumental".

Step 4: It will be automatically processed, and then click "Play" to audition the final result.

Step 5: Click "Export" at the top right corner. Set the output format and output folder in the export window. When you have finished, click "Export".

Part 2. How to Remove Vocals Online
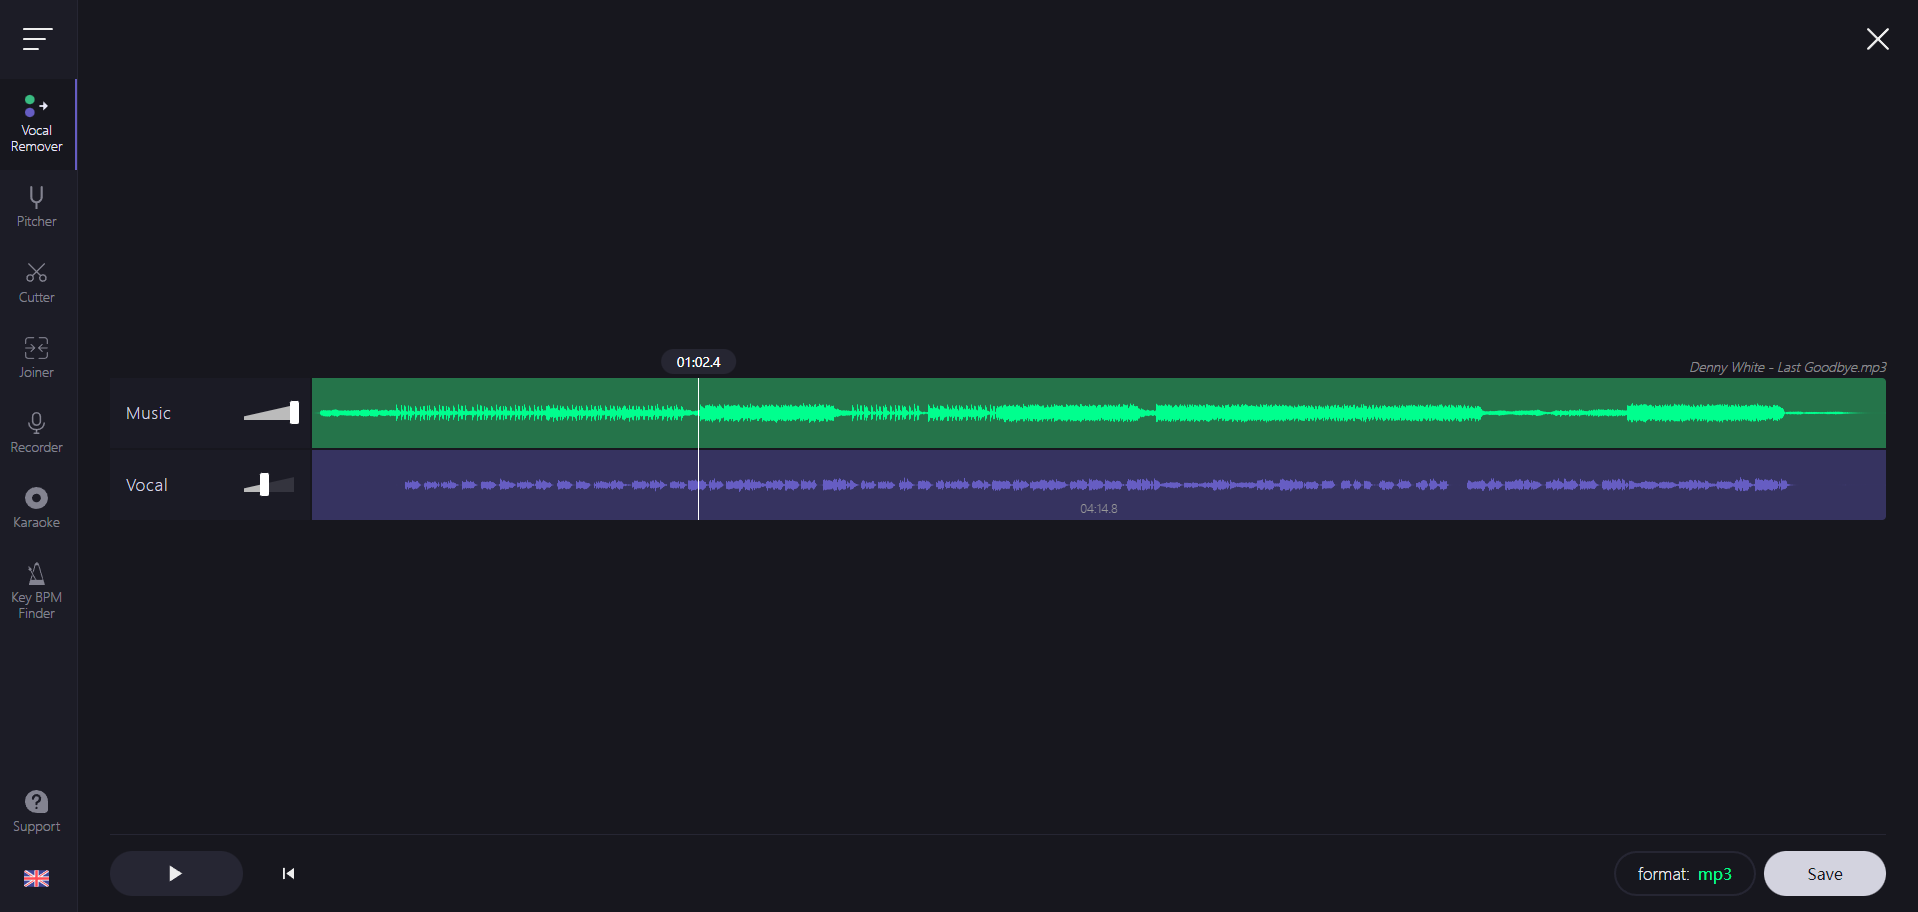
Vocal Remover is a fast and easy-to-use online audio editing tool, that provides some basic effects, such as Vocal Remover, pitcher, cutter, joiner, and recorder. Moreover, it works directly in the browser, no need to install any software, is available for mobile devices.
Here is how you can change audio speed with Vocal Remover.
Step 1: Open the website: https://vocalremover.org/
Step 2: Choose Vocal Remover from the left pane and click “Browse my files” to upload the file.
Step 3: Using the Vocal slider you can easily remove sound.
Step 4: Once you get your desired effect, click “Save” and check the file on your computer.
Part 3. How to Remove Vocals on Mac with Audacity
Known as a free open-source audio editor, audacity is shipped with many effects that you can use to modify your audio. It has a relatively professional interface for audio recording, editing and audio effect enhancement that can be used for Mac.
Step 1: Download and open Audacity on your Mac.
Step 2: From the upper left corner of Audacity, click "File" and then choose "Open" to choose the audio file.
Step 3: Place your cursor to where you want it to be and drag it to select one clip.
Step 4: Then, Click “Vocal Reduction and Isolation” in the Effect.
Step 5: Use the slider to adjust Low Cut or High Cut for Vocals.
Step 6: Once you're done, you can click on the "File" button, and then choose "Save Project" to save your changes.

In conclusion
In today’s article, we’ve shared three easy methods to remove vocals from songs. If you are a Windows user and want to generate more professional audio files, we recommend using Kingshiper Audio Editor to improve work efficiency, which not only performs basic and intermediate edits but also supports various file formats. If you just only occasionally need to edit, you can try the online option.


