Kingshiper Voice Recorder

Kingshiper Voice Recorder User Guide

1  Get Started

It is simple to download, install, purchase and activate the software. Follow below steps.

1.1  Download & Install

Step 1. Download it on Your PC

If you don't have Kingshiper Voice Recorder yet, click the button below to download it. Or visit here to download it.

image.png

Step 2. Install Kingshiper Voice Recorder

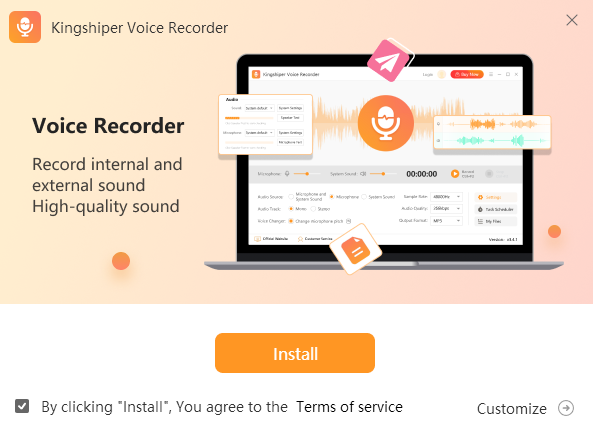
From the pop-up window, you can click the Install button to install our product as the default or you can choose the  “Customize” option. After that, you can click the Install to go ahead.

Step 3. Launch Kingshiper Voice Recorder

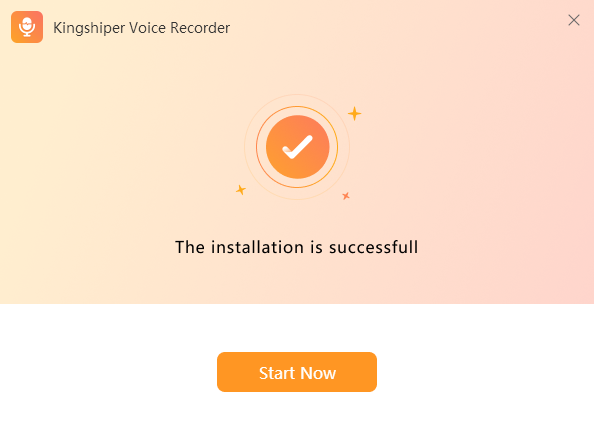
It will take seconds to install Kingshiper Voice Recorder successfully. A window like the below will prompt you that you can click the Start Now button to open Kingshiper Voice Recorder at once.

1.2  Login with Kingshiper Account(Register) & Update & Uninstall

1.2.1  Login Kingshiper Voice Recorder with Kingshiper Account

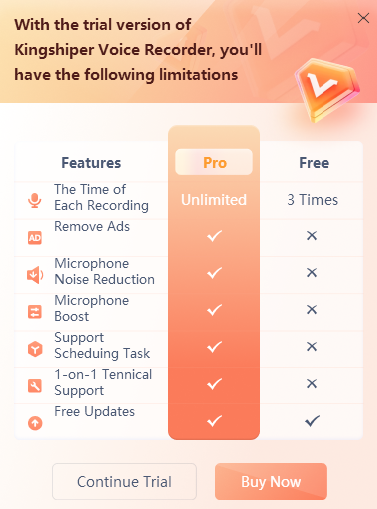
With the premium version of Kingshiper Voice Recorder, you'll have the following permissions.

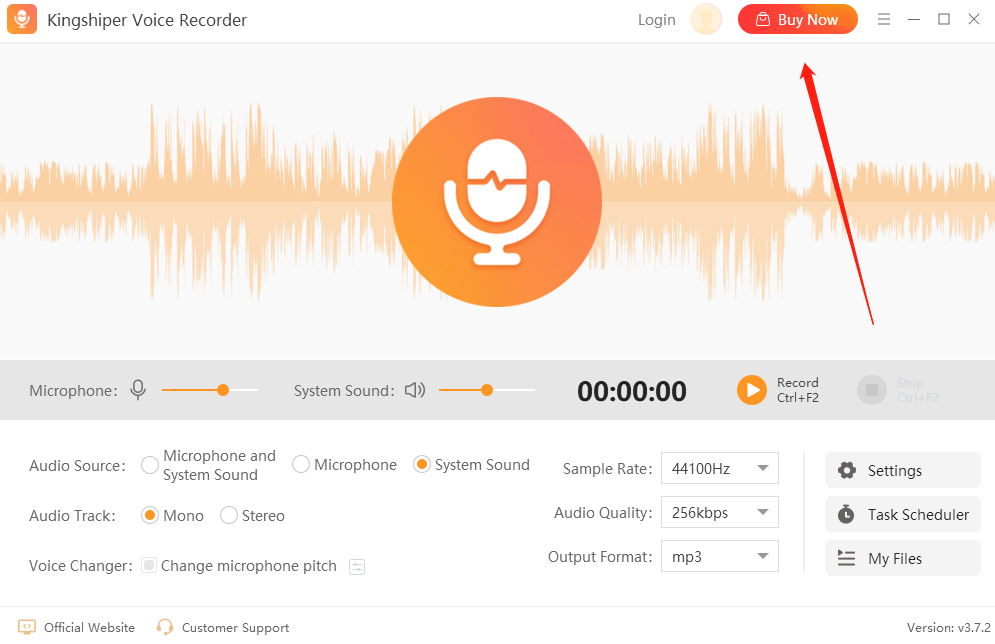
If you want to enjoy the full features without any limitations, please simply click the “Buy now” option in the upper-right corner to purchase Kingshiper Voice Recorder from the official store.

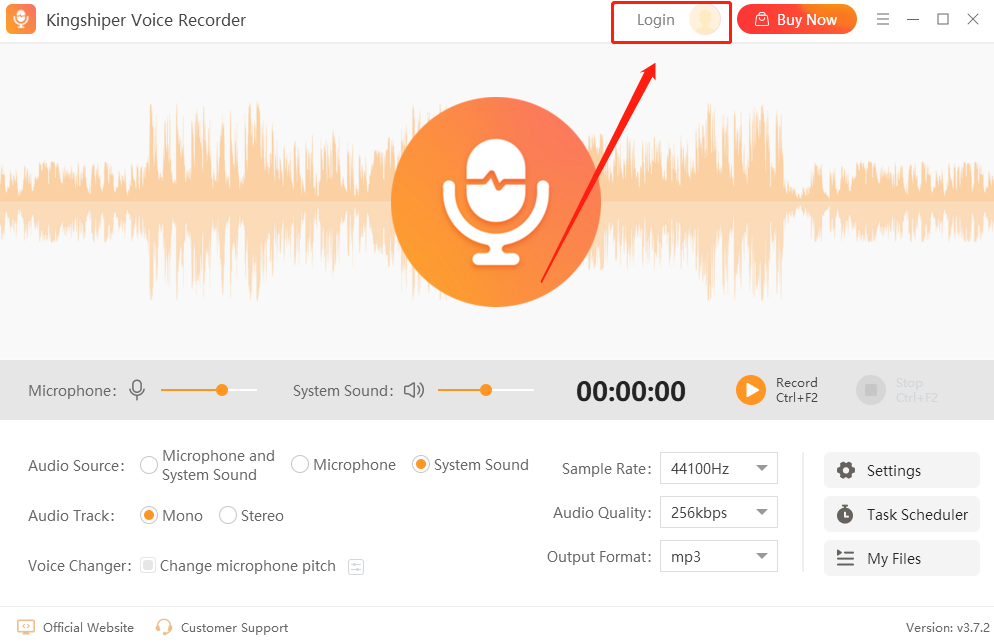
If you have already purchased Kingshiper Voice Recorder, please log in with the Kingshiper Account by clicking the Login button.

1.2.2  What is Kingshiper Account?

Kingshiper Account refers to the account you created from one of the Kingshiper products. It helps you manage your order details and log in to Kingshiper products that support Kingshiper Account.

1.2.3  How to log in to Kingshiper Voice Recorder?

Launch Kingshiper Voice Recorder after installation, and click the Login button in the upper right corner to get a new window as below.

1.2.4  How to sign up for a new Kingshiper Account?

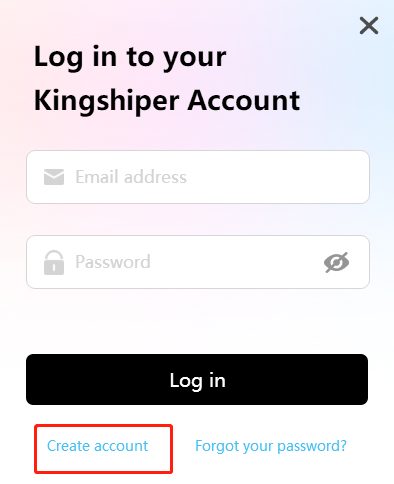
If you don't have a Kingshiper Account, then you need to click the Create account here option on the initial interface and create a new account.

You'll get a new interface to enter your email address and set a password, and then click the “Create Account” button to create the account.

1.2.5  What can you do with Kingshiper Account?

You can click on the “Member Center” button to open the Kingshiper official website and click on the Person icon, then choose “Account Center”. You can edit your profile, change your password, and check your order on this page.


My order: You can find the Order, Profile, and Security information here.


Profile: You can edit your personal information from this tab.


Security: You can change your password here.


1.2.6  Update

If you want to check if your Kingshiper Voice Recorder is the latest version and update it, you can follow the steps below to update automatically.

Step 1. Check for Updates.

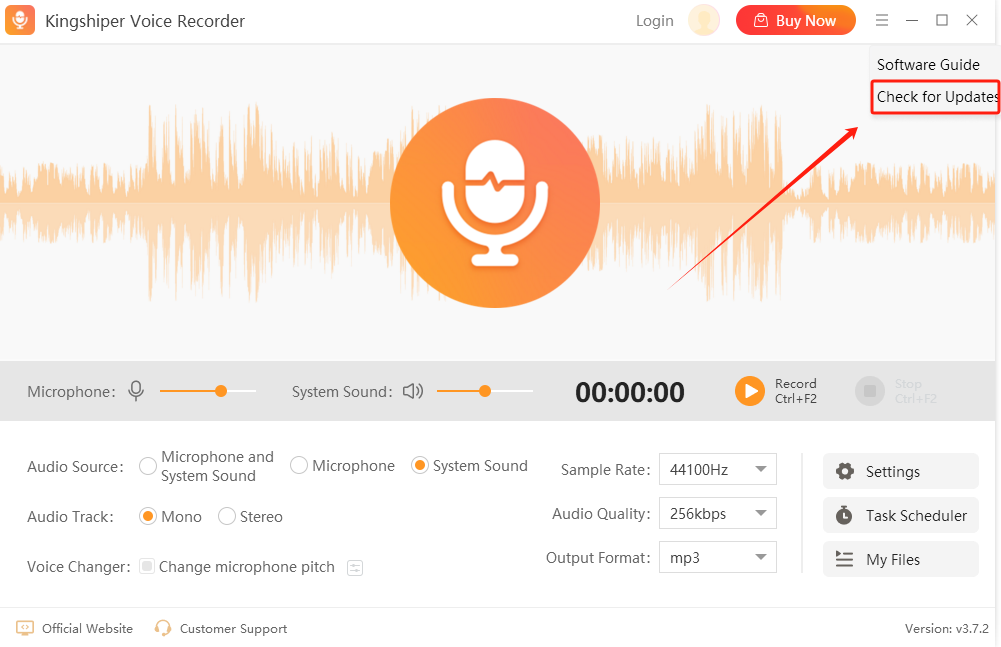
Go to the “Menu” icon, and click the “Check for Updates”. It will pop up a Live Update window, please press “Go to Update” to download the package.

Step 2. Update the package.

After downloading the latest version, please press “OK” to terminate the program and install the new version from the pop-up window. You can also click "Cancel” to install it next time.

1.2.7  Uninstall

If you think Kingshiper Voice Recorder hasn't met your expectations or you don't want to use it now, you can uninstall it as below:

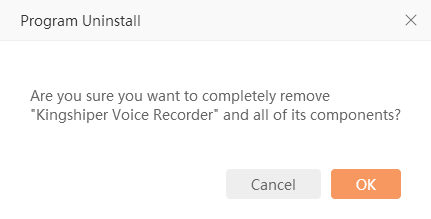
Go to “Control Panel” > “Programs” > “Programs and Features” > “Uninstall” and then right-click the icon of Kingshiper Voice Recorder and select Uninstall. Click “OK” when asked "Are you sure you want to completely remove Kingshiper Voice Recorder and all of its components?"

image.png

1.3  Brief Introduction

Thank you for your interest in Kingshiper Voice Recorder. Kingshiper Voice Recorder is an outstanding real-time recording software that is designed to meet all your recording needs. It allows you to record system sound, microphone, or both. You can switch between these options to capture every sound you desire accurately. Moreover, this tool also offers some advanced features such as scheduled recording, microphone boost, and noise reduction, and sound check to improve your recording process. The recording formats available include mp3, wav, ogg, flac, ac3, m4a, wma, and more, allowing you to easily enjoy the recordings on any player and different portable devices.

2  How to Use Kingshiper Voice Recorder

2.1  Interfaces & Buttons

Please launch Kingshiper Voice Recorder on your computer; the main interface will display. Some basic functions are as below.

2.1.1  Volume

You can adjust the microphone and system volume according to the specific recording needs during recording.

2.1.2  Recording Settings

You can adjust the Audio Souce, Audio Track, and Voice Changer according to your recording needs and personal preferences.

2.1.3  Output Settings

There are various options for Sample Rate, Audio Quality, and Output Format. It's recommended to set them before recording. Higher sample rates and bitrates generally result in better audio quality but also result in larger file sizes.

2.1.4  More Settings

2.1.4.1  General 

For this part, you can set the output folder, the time to automatically save file, whether to display a floating window on the desktop, and whether to start automatically at boot.

2.1.4.2  Audio

In the Audio part, you can select the sound and microphone devices separately and check if they can work properly.

2.1.4.3  Advanced

Use Microphone Noise Reduction, Microphone Boost, and System Sound Boost, to optimize your sound recroding, which helps improve the accuracy and efficiency of voice recognition.


2.1.4.4  Hotkeys

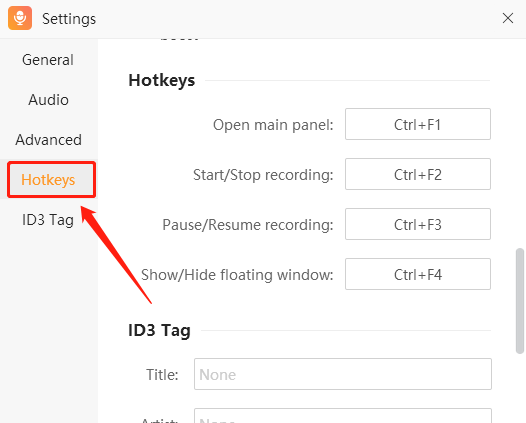
The default hotkeys are shown in the picture below, and they can be used during recording. Additionally, you can modify it by entering your own preferred hotkeys that you are accustomed to.

2.1.4.5  ID3 Tag

ID3 Tag refers to the additional information embedded in the audio file, such as the artist, title, album, year, genre, and other details about the audio. Here, you can customize and edit the ID3 information."

2.1.5  My Files

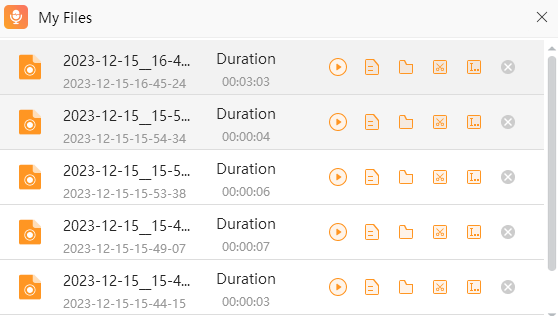
Here is your recording file list. You can easily play, edit, check, and rename your files.

2.2 Basic Functions

2.2.1  Record Microphone and System Sound

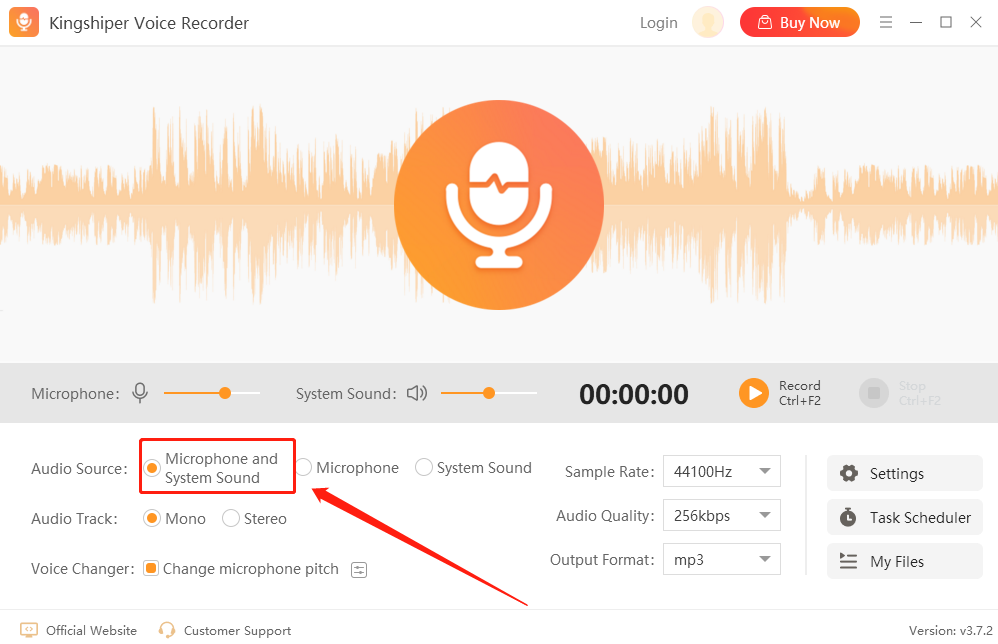
Tick "Microphone and System Audio" to record audio that includes both system sounds and microphone input. This is highly suitable for individuals who need to attend online classes or create instructional audio recordings.

2.2.2  Record Microphone Sound Only

Tick the Microphone to record microphone sound only, which allows you to focus on recording your voice or any other sound directly from your microphone, ensuring clear and high-quality recordings.

2.2.3  Record System Sound Only

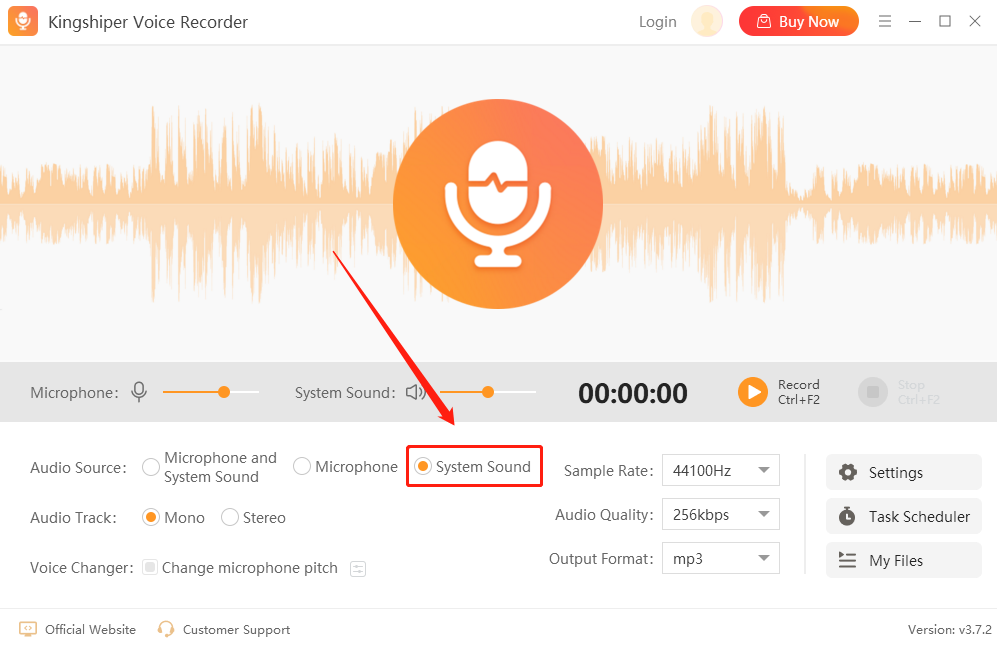
Tick “System Sound” to record system sound only.  You can easily capture the audio output from your device's system, like music, notifications, or any other sound playing on your computer, without capturing external noises or background sounds.

2.2.4  Voice Changer

When selecting “Change microphone pitch”, you can adjust your microphone pitch according to your needs. The normal sound is set at 1, lower than 1 will make the sound deeper, while higher than 1 will make the sound sharper.

2.2.4  Task Scheduler

If you need to record voice at specific times, you can use Task Scheduler to do that. Simply set the recording conditions and the start time in advance, then click "Create" to add a scheduled recording task. After adding the task, the software will run in the background and automatically initiate the recording at the specified time without requiring you to have the software actively open.

Note: To ensure successful task execution, it is important not to exit the software completely. Instead, you can minimize the software window, allowing it to continue running in the background and carry out the scheduled recording tasks as scheduled.

3  Support and Help

If you have any feedback or suggestions on Kingshiper Voice Recorder, please do not hesitate to let us know. We are also enthusiastic about replying to all your questions about using it.

Submit Tickets: https://www.kingshiper.com/contact

Email: [email protected]