Kingshiper Screen Recorder for Mac

Kingshiper Screen Recorder for Mac User Guide

1  Get Started

It is simple to download, install, purchase, and activate the software. Follow the below steps.

1.1  Download & Install

Step 1. Download it on Your PC


If you don't have Kingshiper Screen Recorder for Mac yet, click the button below to download it. Or visit to download it.


image.png


image.png


Step 2. Install Kingshiper Screen Recorder for Mac


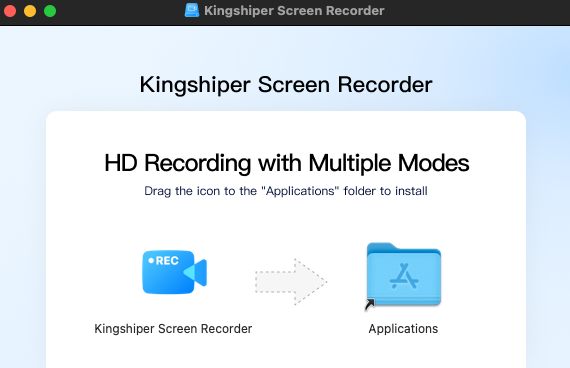
From the pop-up window, right-click the .dmg file, and choose "Open". Then, drag the icon to the "Applications" folder to install.


 image.png


Step 3. Launch Kingshiper Screen Recorder for Mac


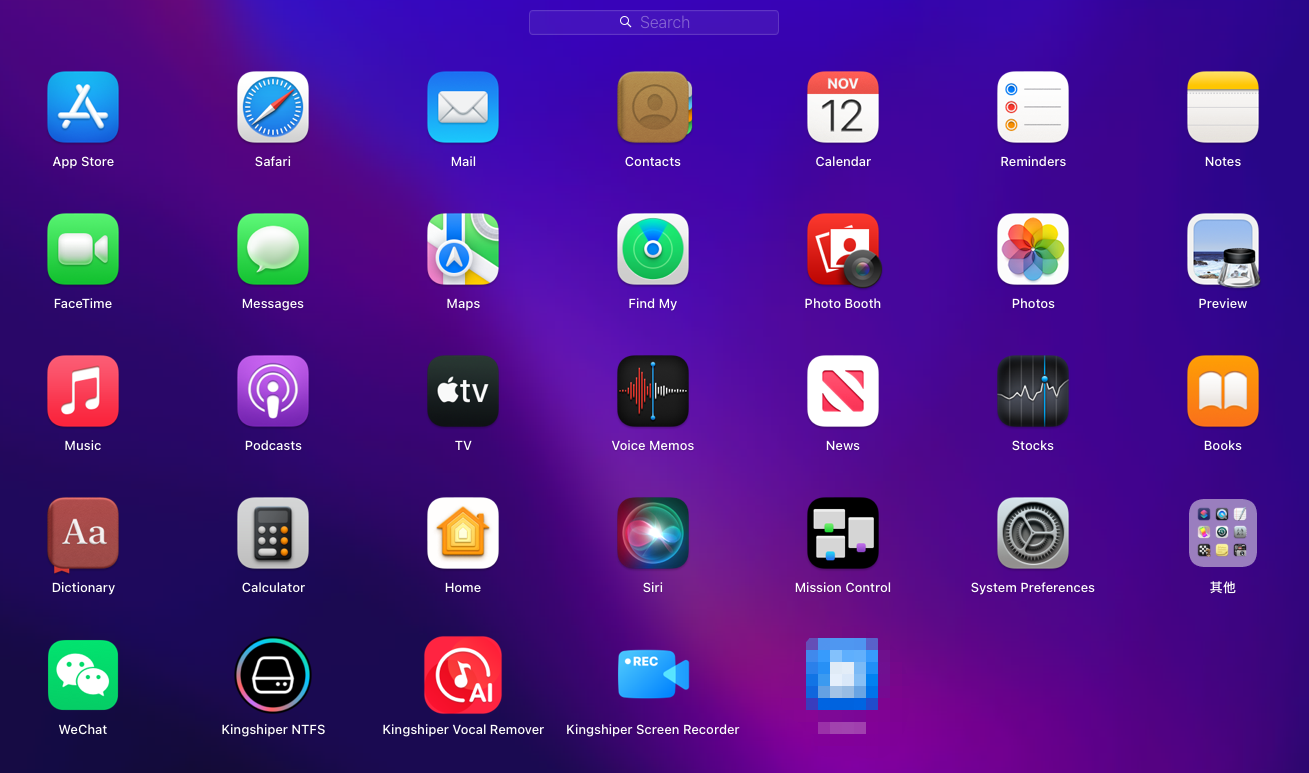
It will take seconds to install Kingshiper Screen Recorder for Mac successfully. Then, you can open Kingshiper Screen Recorder for Mac through LaunchPad.


image.png


1.2  Login with Kingshiper Account(Register) & Update & Uninstall

1.2.1  Login Kingshiper Screen Recorder for Mac with Kingshiper Account

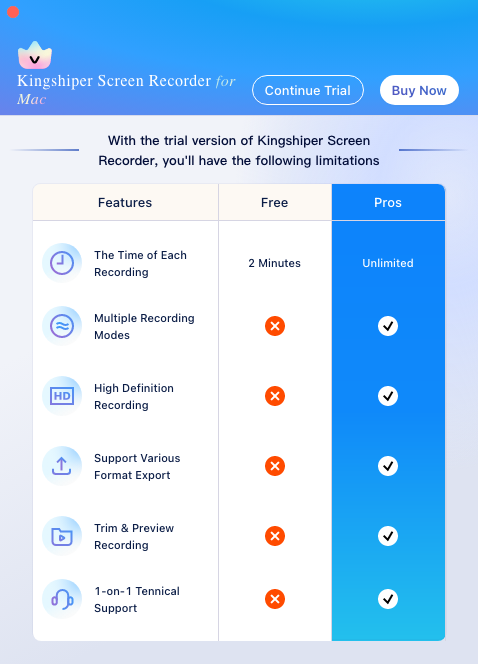
With the premium version of Kingshiper Screen Recorder for Mac, you'll have the following permissions.


image.png


  • If you want to enjoy the full features without any limitations, please simply click the “Buy now” option in the upper-right corner to purchase Kingshiper Screen Recorder from the official website.


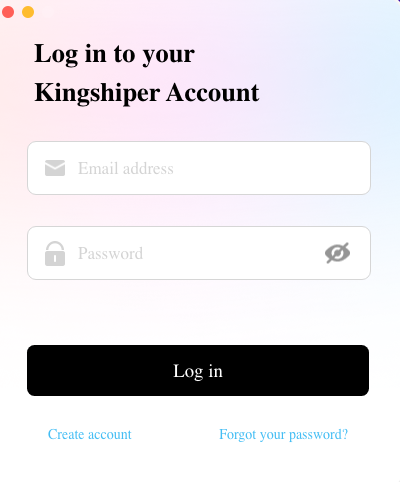
  • If you have already purchased Kingshiper Screen Recorder for Mac, please log in with the Kingshiper Account by clicking the Person icon.


1.2.2  What is Kingshiper Account? 


Kingshiper Account refers to the account you created from Kingshiper Screen Recorder for Mac. It helps you manage your order details and log in to Kingshiper products that support Kingshiper Account.


1.2.3  How to log in to Kingshiper Screen Recorder for Mac?


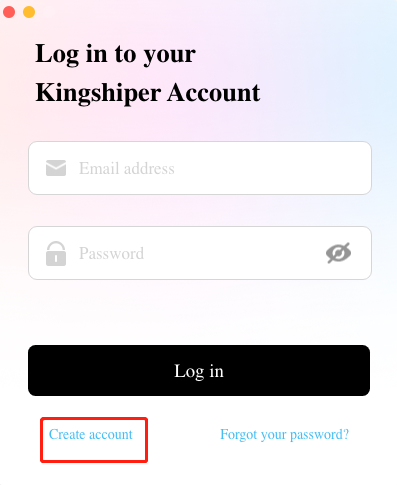
Launch Kingshiper Screen Recorder for Mac after installation, and click on the Person icon in the right-top corner to get a new window as below.


image.png

1.2.4  How to sign up for a new Kingshiper Account.


If you don't have a Kingshiper Account, then you need to click the Create account here option on the initial interface and create a new account.


 image.png


You'll get a new interface to enter your email address and set a password, and then click on the “Create Account” button to create the account.


image.png


1.2.5  What can you do with Kingshiper Account?


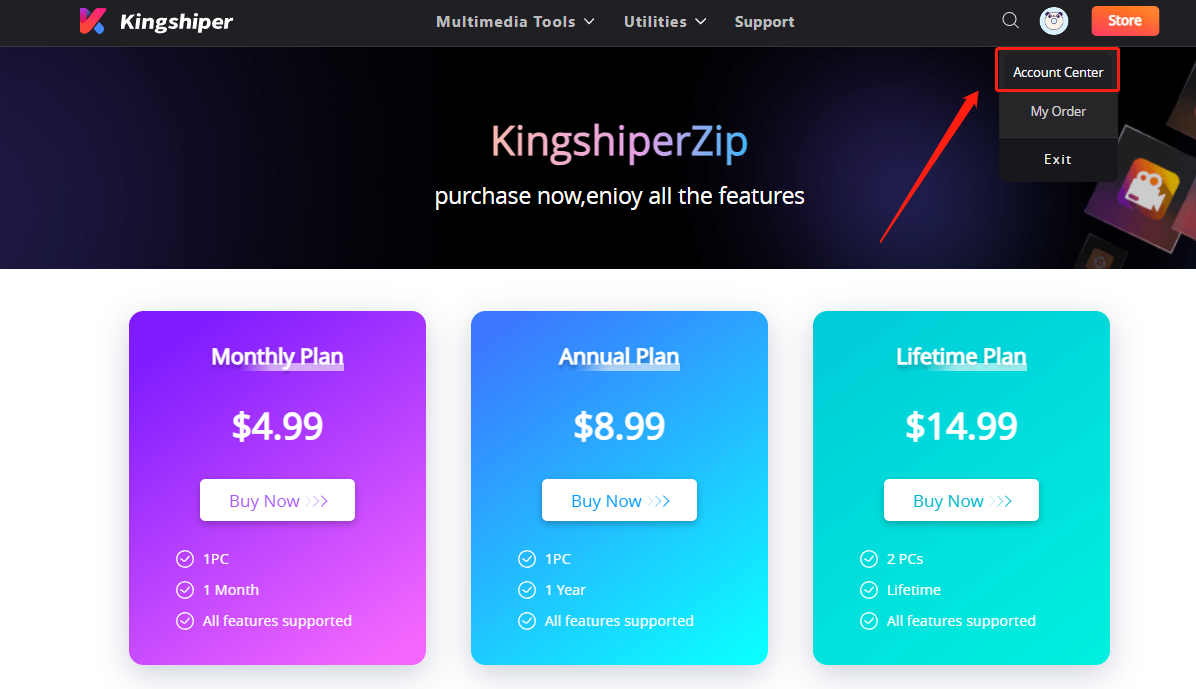
You can click on the “Buy Now” button to open the Kingshiper official website and click on the Person icon, then choose “Account Center”. You can edit your profile, change your password, and check your order on this page.


image.png


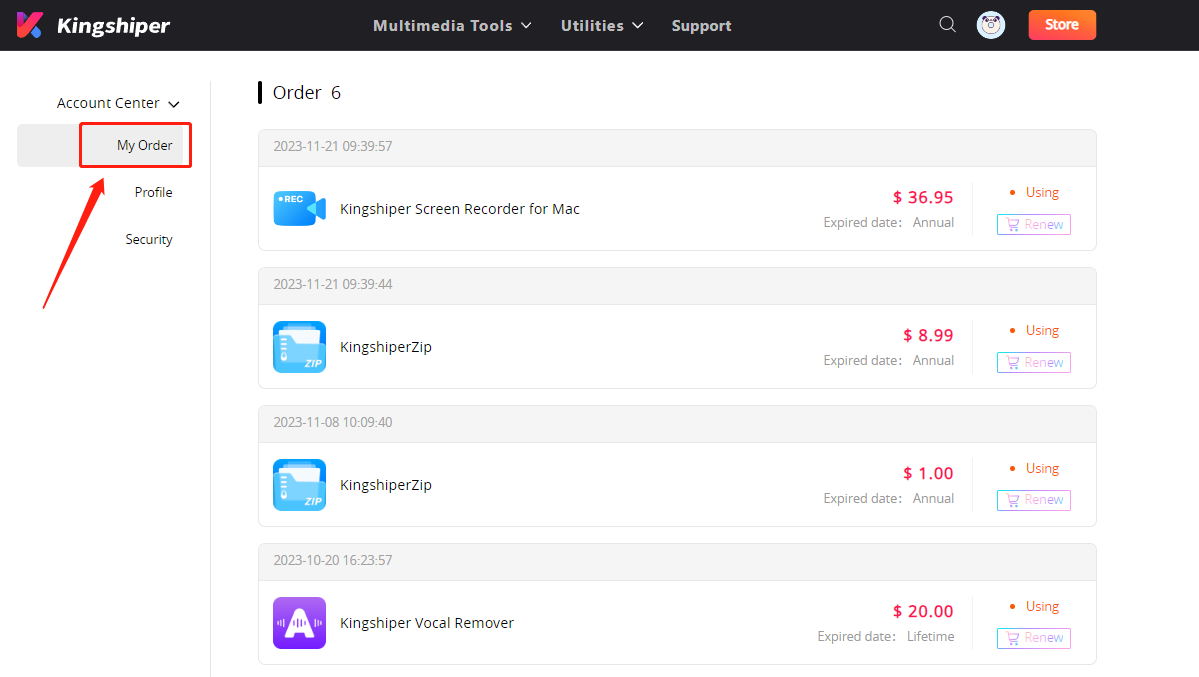
My order: You can find the Order, Profile, and Security information here.


image.png


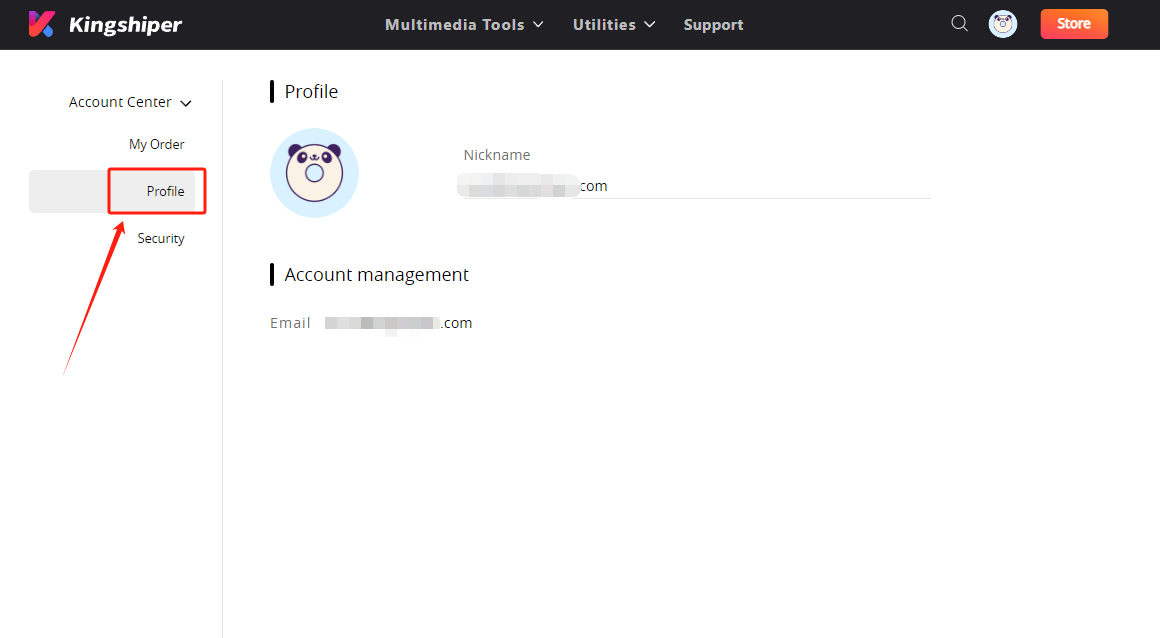
Profile: You can edit your personal information from this tab.


image.png


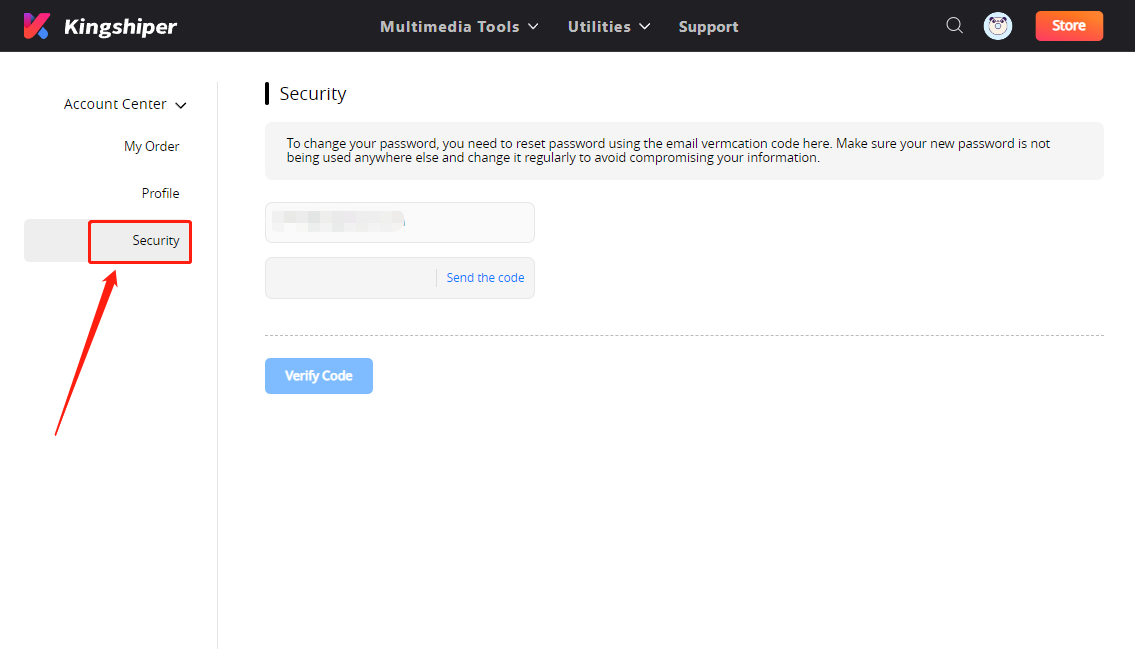
Security: You can change your password here.


image.png


1.2.6  Update


If you want to check if your Kingshiper Screen Recorder for Mac is the latest version and update it, you can follow the steps below to update automatically.


Step 1. Check for Updates.


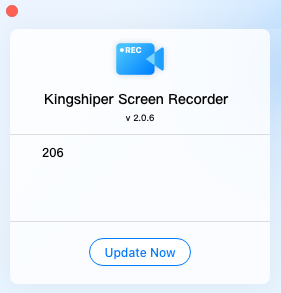
Go to the “Setting” icon, and click the “Check for Updates”. It will pop up a Live Update window, please press “Update Now” to download the package.


image.png


Step 2. Update the package.


After downloading the latest version, please press “Replace” to terminate the program and install the new version from the pop-up window. You can also click "Cancel” to install it next time.


image.png


1.2.7  Uninstall


If you think Kingshiper Screen Recorder for Mac hasn't met your expectations or you don't want to use it now, you can uninstall it as below:


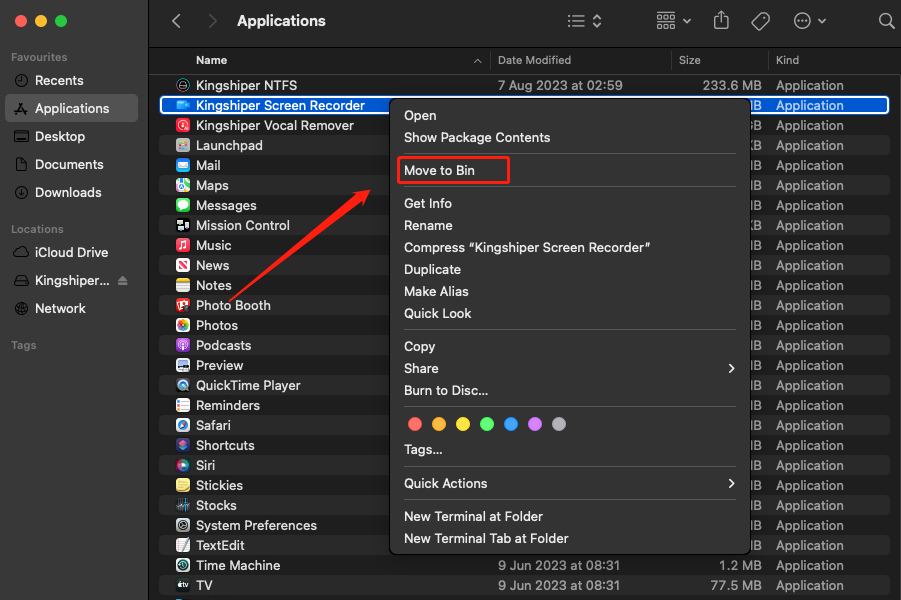
Go to "Finder", and choose "Applications" interface in the left menu bar. Right-click the Kingshiper Screen Recorder for Mac icon and select "Move to Bin" to uninstall it.


 image.png

1.3  Brief Introduction

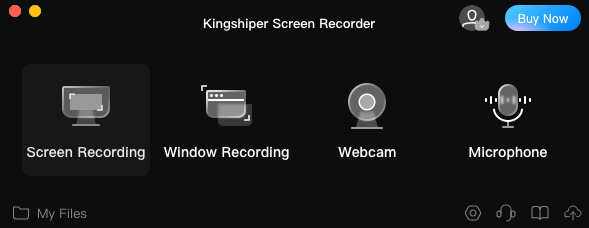
Kingshiper Screen Recorder is an easy-to-use computer screen recording tool. It has four recording modes: Screen Recording, Window Recording, Webcam, and Microphone. It covers various scenarios in life, work, and entertainment. It meets the quality requirements of mainstream video platforms and solves the need for computer screen video recording. Even beginners can easily get started and enjoy the ultimate screen recording experience.


1.3.1  System Requirement

(1) Video File Formats: MP4(H264),MP4(H265),MP4(AVI),GIF,WebM,APNG


(2) Audio File Formats: MP3

2  How to Use Kingshiper Screen Recorder for Mac

2.1  Interfaces & Buttons


Please launch Kingshiper Screen Recorder on your computer; the main interface will display. Some basic functions are as below.


2.1.1  Recording Modes

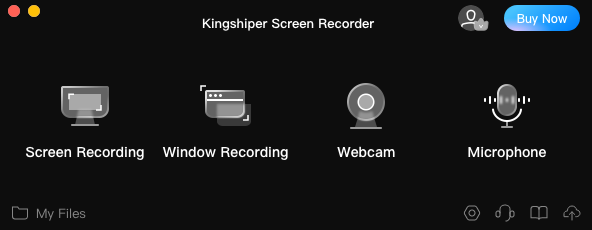
Kingshiper Screen Recorder supports four recording modes, including Screen RecordingWindow RecordingWebcam, and Microphone.


image.png


2.1.2  My Files

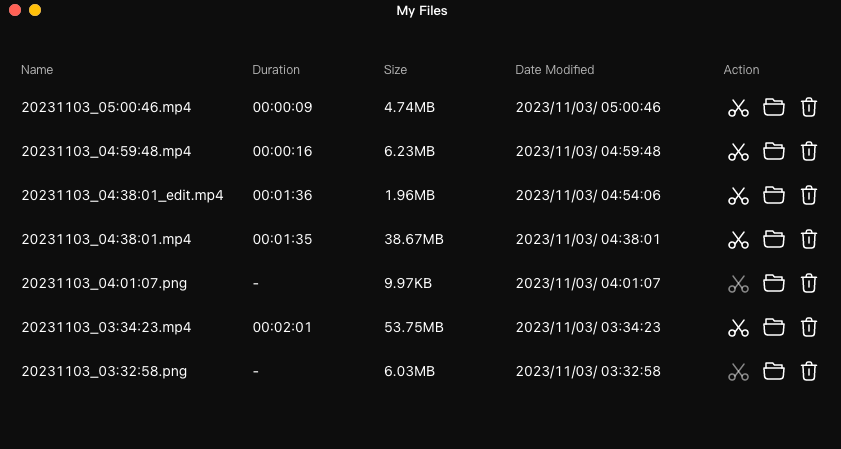
The recorded video files can be accessed through My Files, which is in the lower-left corner of the Home. Also, you can rename, open, edit, or delete the recorded videos here.


image.png


2.1.3  General Settings


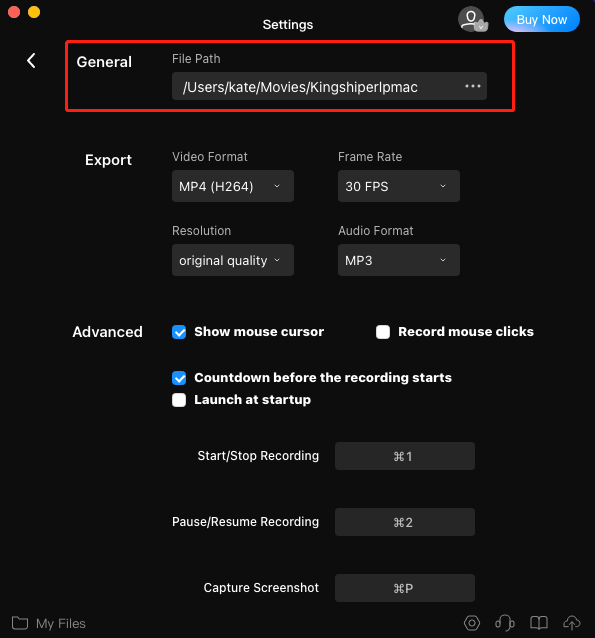
In this part, you can find the file path of the recorded video. You can click the three-dot icon on the right side to change their location, making it convenient to find the recorded files promptly.


image.png


2.1.4  Export Settings

2.1.4.1  Video/Audio Formats

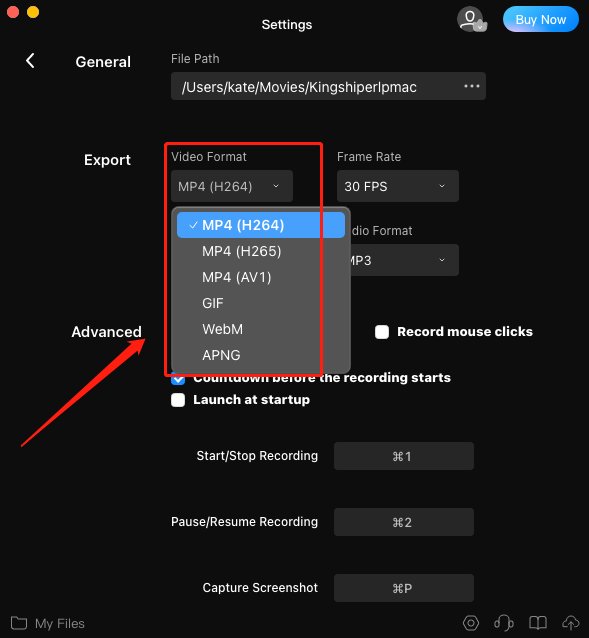
For this part, you can customize the video/audio format, frame rate, and resolution. The supported video formats are MP4 (H264), MP4 (H265), MP4 (AVI), GIF, WebM, and APNG. The supported audio format is MP3.


 image.png

2.1.4.2  Frame Rate

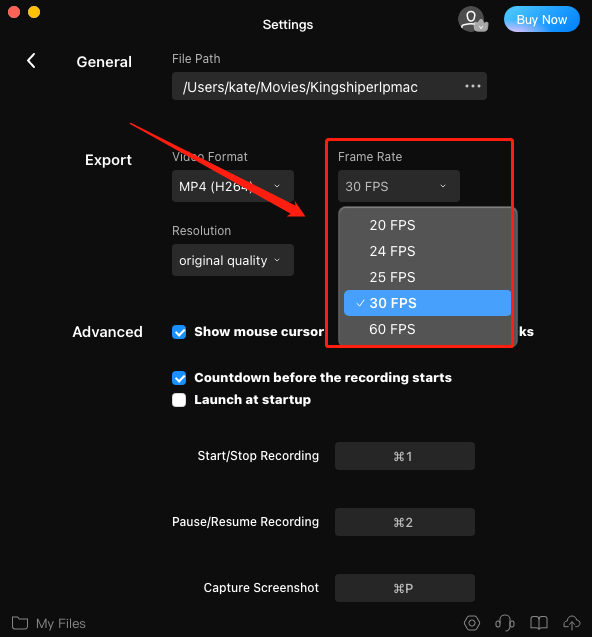
the frame rate of online videos is generally around 30 frames per second. It should noted that if the frame rate is lower than 25 frames per second, it may cause lag.


image.png


2.1.4.3  Resolution

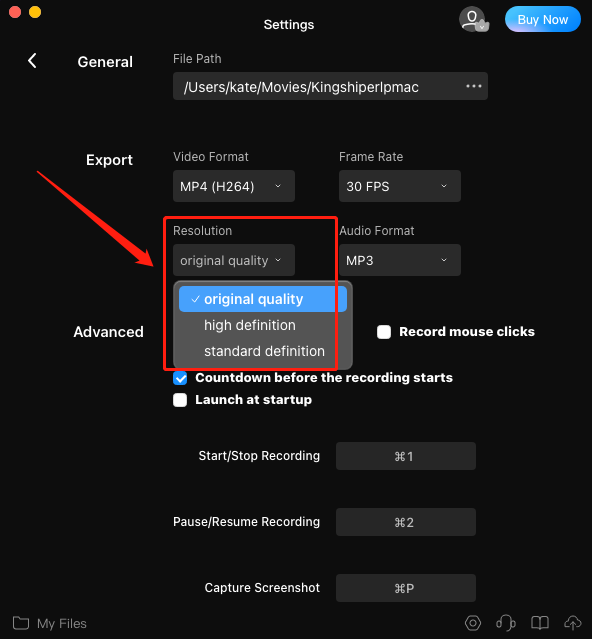
Three different levels of video quality are provided: original qualityhigh definition (HD), and standard definition (SD). The higher the video quality you choose, the larger the recorded file size.


image.png


2.1.5  Advanced Settings

2.1.5.1  Mouse

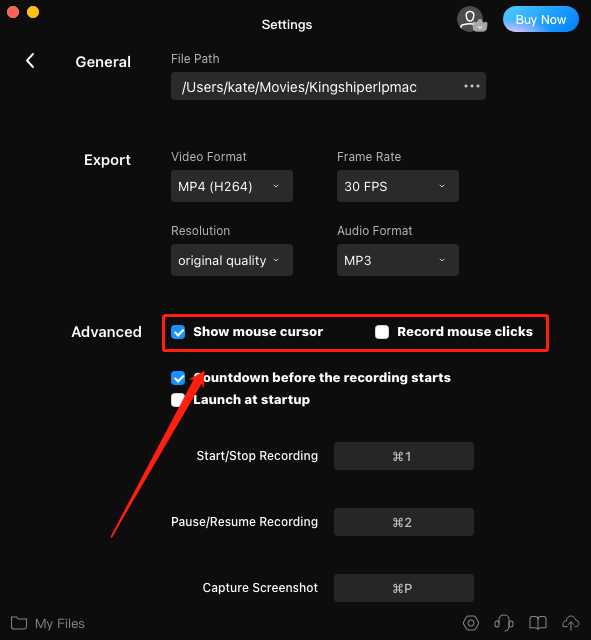
Depending on the recording needs, you can choose whether to enable mouse display and mouse click effects.


 image.png


2.1.5.2  Shortcut Keys

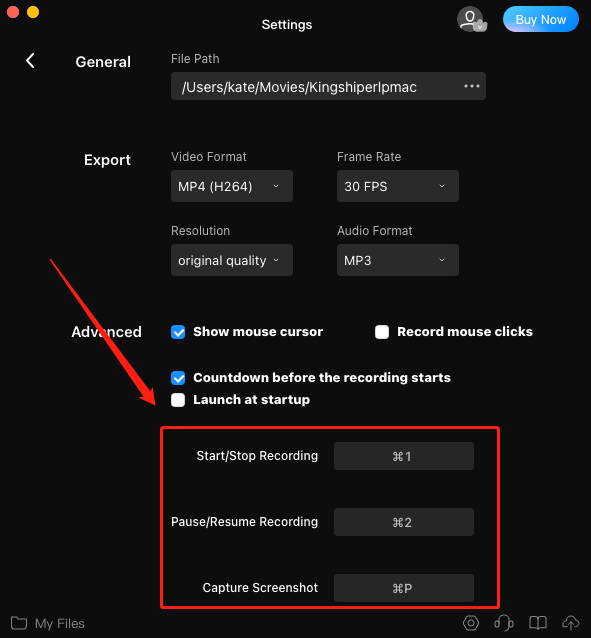
The default shortcut keys are shown below, you can customize the shortcut keys according to your preferences. (provided there are no conflicts with other software shortcuts).


image.png


2.1.6  Support Center

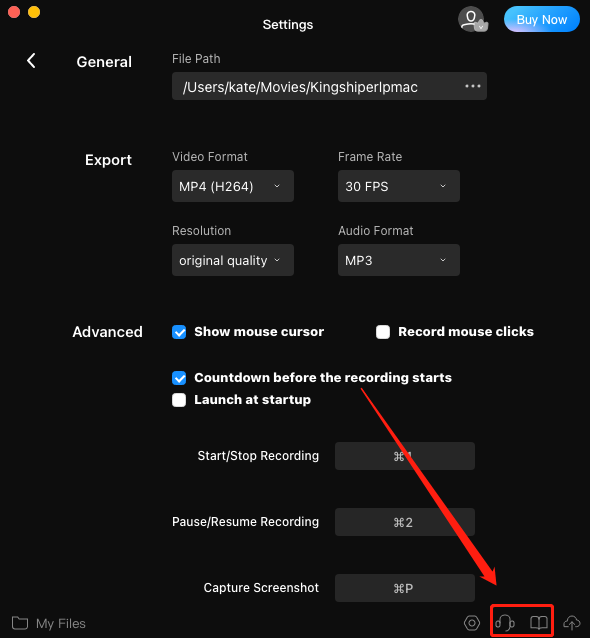
During the use of the software, clicking on the two buttons will allow you to contact the software's online customer service and view the software tutorial.


image.png


2.2  Basic Functions

2.2.1  Screen Recording

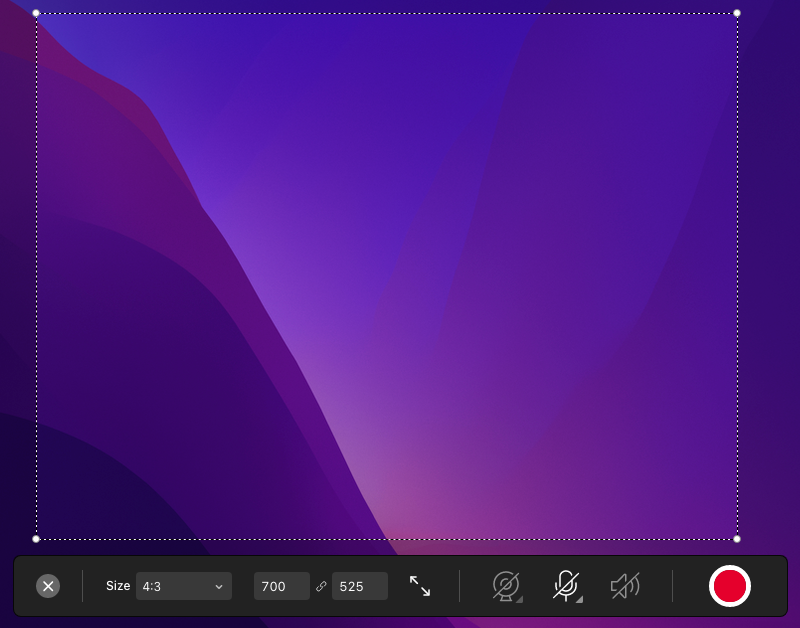
By selecting screen recording, you can capture all activities on your computer screen. Whether it's recording daily work tasks, gameplay, or tutorials, you can choose this mode to accomplish it. 


Screenshot 2023-11-12 at 19.37.54.png


More importantly, it supports customizing the recording window or recording in full screen.


image.png


2.2.2   Window Recording

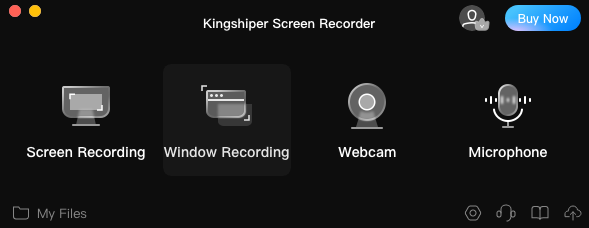
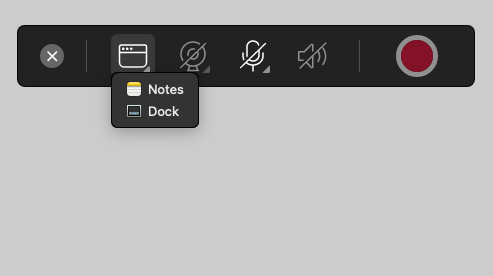
Window Recording refers to recording application windows. In order to meet users' recording needs, it allows you to record computer applications without manual operation. 


Screenshot 2023-11-12 at 19.40.22.png


You can choose any open application on your computer for recording. The selected state is indicated by blue (bright color), while the unselected state is indicated by gray (dark color).


image.png


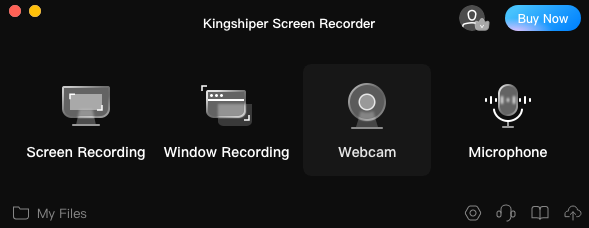
2.2.3  Webcam

Webcam recording enables you to capture video footage using a webcam or an integrated camera on your device. It is widely used for video chatting, video conferencing, creating vlogs, live streaming, or any other video-based activities.


Screenshot 2023-11-12 at 19.40.31.png


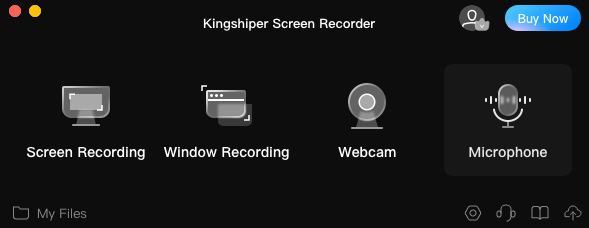
2.2.4  Microphone

This feature allows you to capture audio input using a microphone device. With microphone recording, you can capture your voice or any sound you want to record and save it as an audio file.


Screenshot 2023-11-12 at 19.40.36.png

3  Support and Help

If you have any feedback or suggestions on Kingshiper Screen Recorder for Mac, please do not hesitate to let us know. We are also enthusiastic about replying to all your questions about using it.

Please feel free to contact us and we'll help you right away.


Submit Tickets: https://www.kingshiper.com/contact


Email: [email protected]