Kingshiper Audio Editor

Kingshiper Audio Editor User Guide

1  Get Started

It is simple to download, install, purchase, and activate the software. Follow the below steps.

1.1  Download & Install

Step 1. Download Kingshiper Audio Editor.

If you don't have Kingshiper Audio Editor yet, click the button below to download it. Or visit here to download it.


image.png


Step 2. Install Kingshiper Audio Editor.

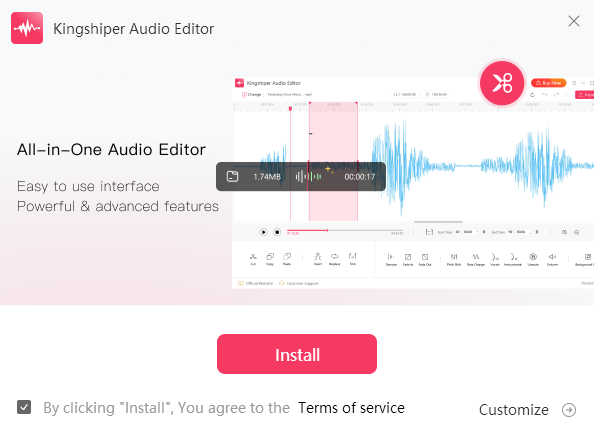
From the pop-up window, you can click the Install button to install our product as the default or you could choose the Customize Install option. After that, you can click the Install to go ahead.

image.png

Step 3. Launch Kingshiper Audio Editor.

It will take seconds to install Kingshiper Audio Editor successfully. A window like the one below will prompt you that you click the "Start Now" button to open Kingshiper Audio Editor at once.

image.png

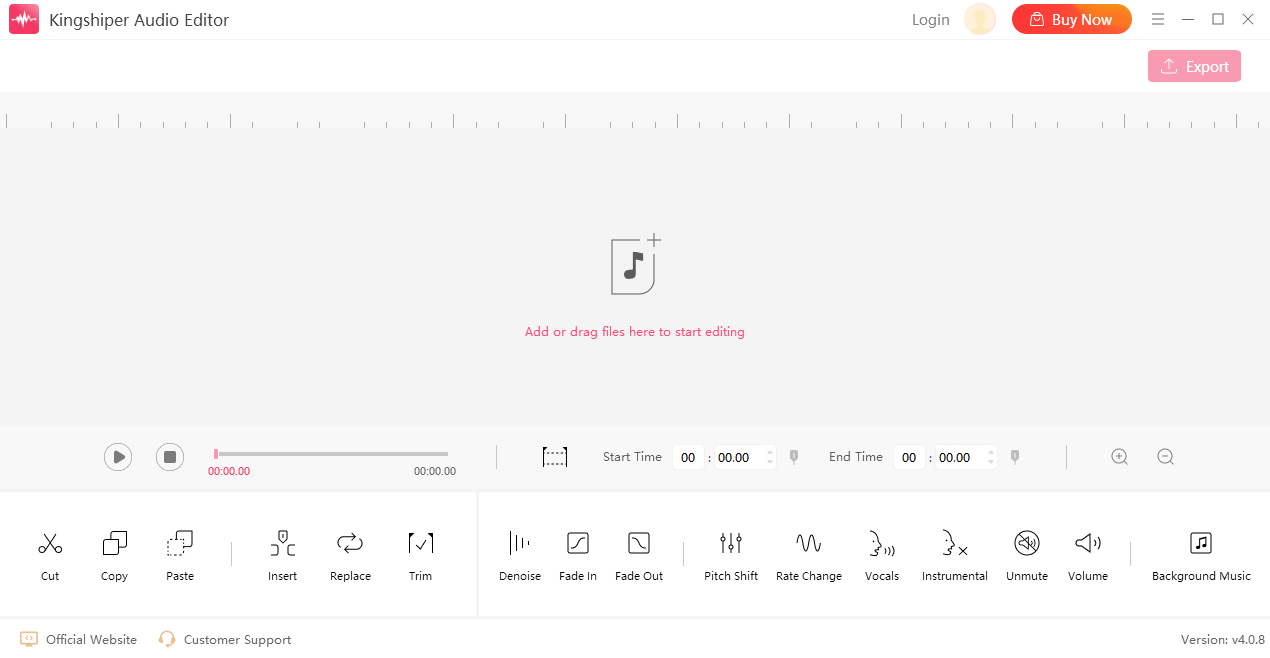
Finally, you will enter the main window of Kingshiper Audio Editor shown below.

image.png

1.2  Login with Kingshiper Account(Register) & Update & Uninstall

1.2.1  Login Kingshiper Audio Editor with Kingshiper Account

With the premium version of Kingshiper Audio Editor, you'll have the following permissions.

image.png

If you want to enjoy the full features without any limitations, please simply click the Buy Now option in the upper-right corner to purchase Kingshiper Audio Editor from the official website.


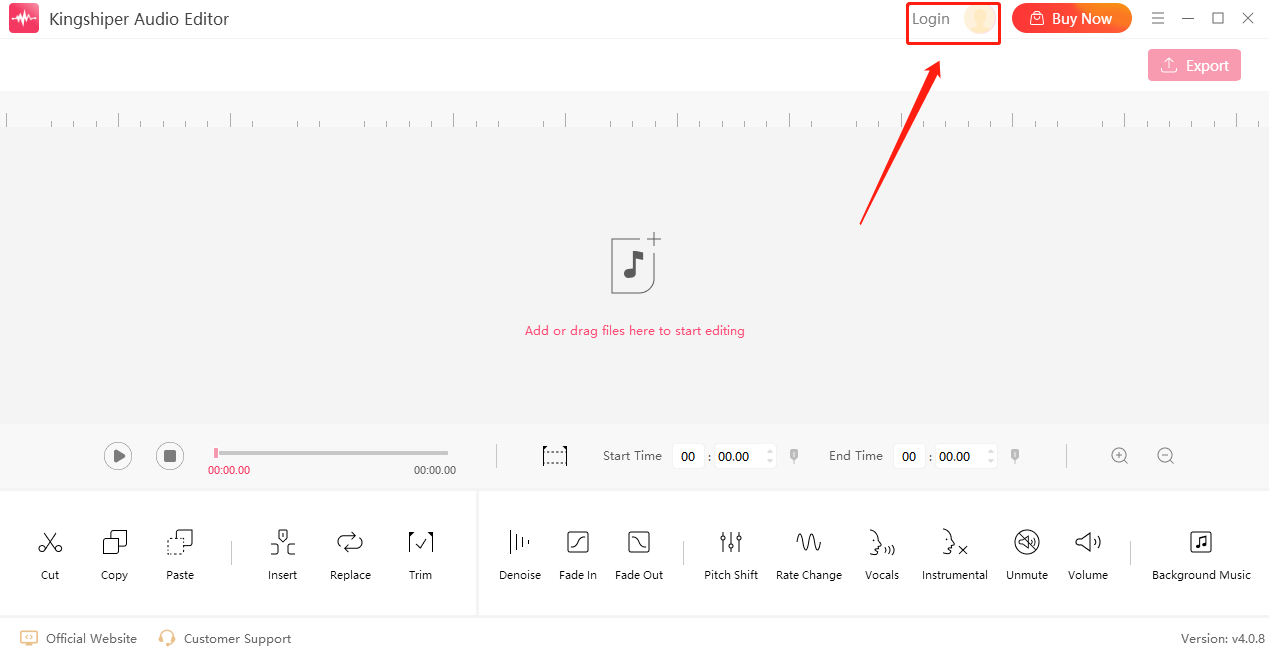
If you have already purchased Kingshiper Audio Editor, please log in with the Kingshiper Account by clicking the Person icon.

image.png

1.2.2  What is Kingshiper Account? 

Kingshiper Account refers to the account you created from Kingshiper Audio Editor. It helps you manage your order details and log in to Kingshiper products that support Kingshiper Account.

1.2.3.4  How to log in to Kingshiper Audio Editor?

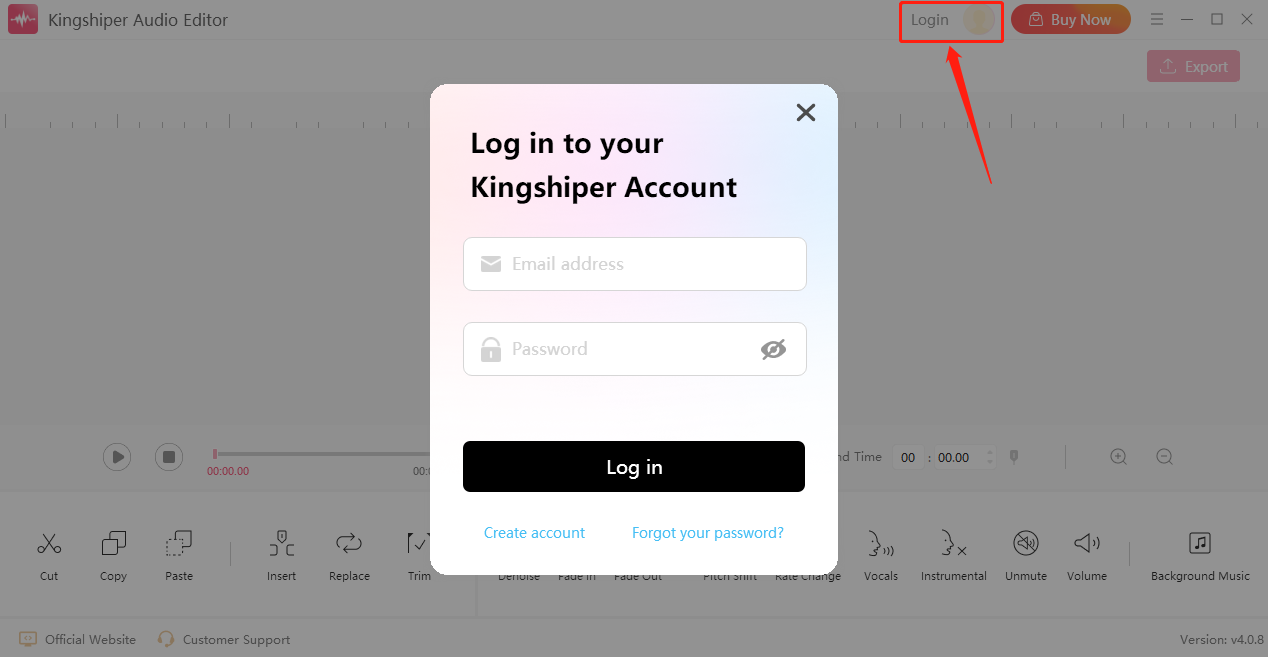
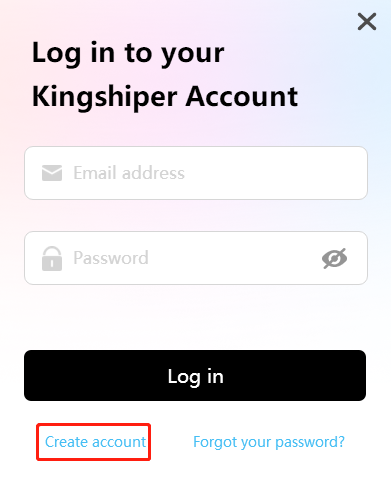
Launch Kingshiper Audio Editor after installation, and click on the Person icon in the right-top corner to get a new window as below.

image.png

If you don't have a Kingshiper Account, then you need to click the Create account here option on the initial interface and create a new account.

image.png

You'll get a new interface to enter your email address and set a password, and then click on the Create Account button to create the account. 

image.png

1.2.5  What can you do with Kingshiper Account?

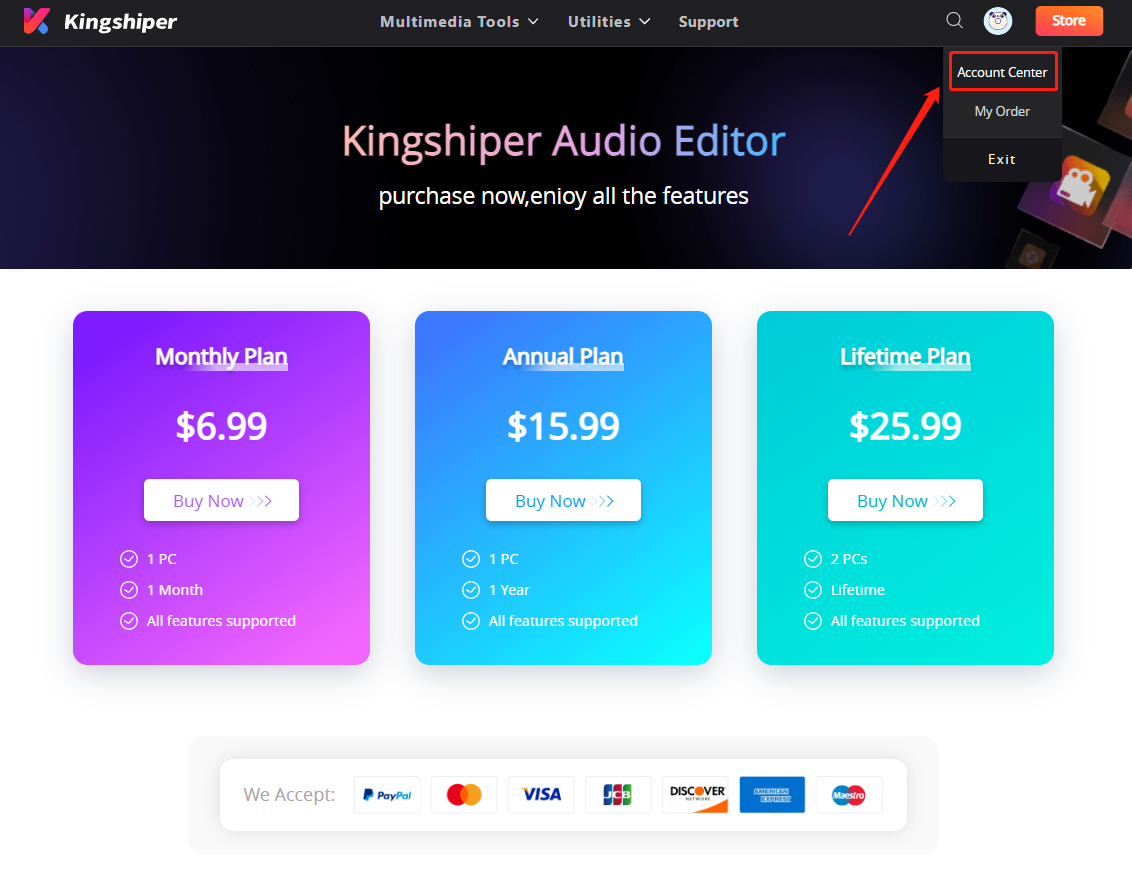
You can click on the Renew button to open the Kingshiper official website and click on the Person icon, then choose “Account Center”. You can edit your profile, change your password, and check your order on this page.


Overview: From this tab, you can find your Plan & Products, history Orders, Coupons, and Account information.

image.png

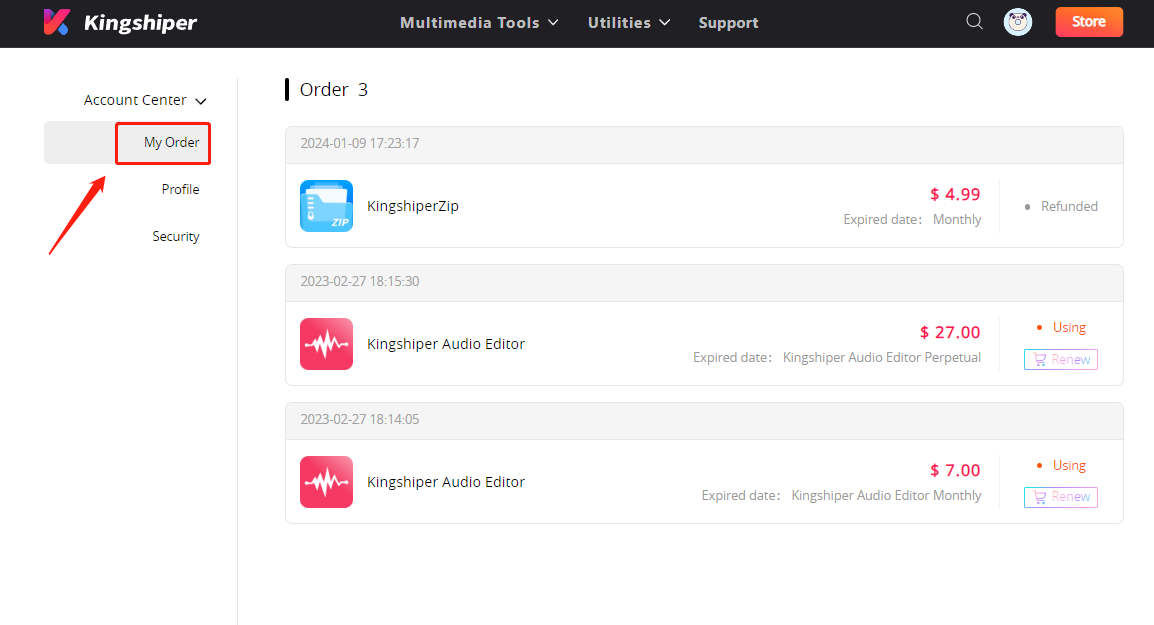
My order: You can find the Product, Payment, Date, and Status of all your Kingshiper products.

image.png

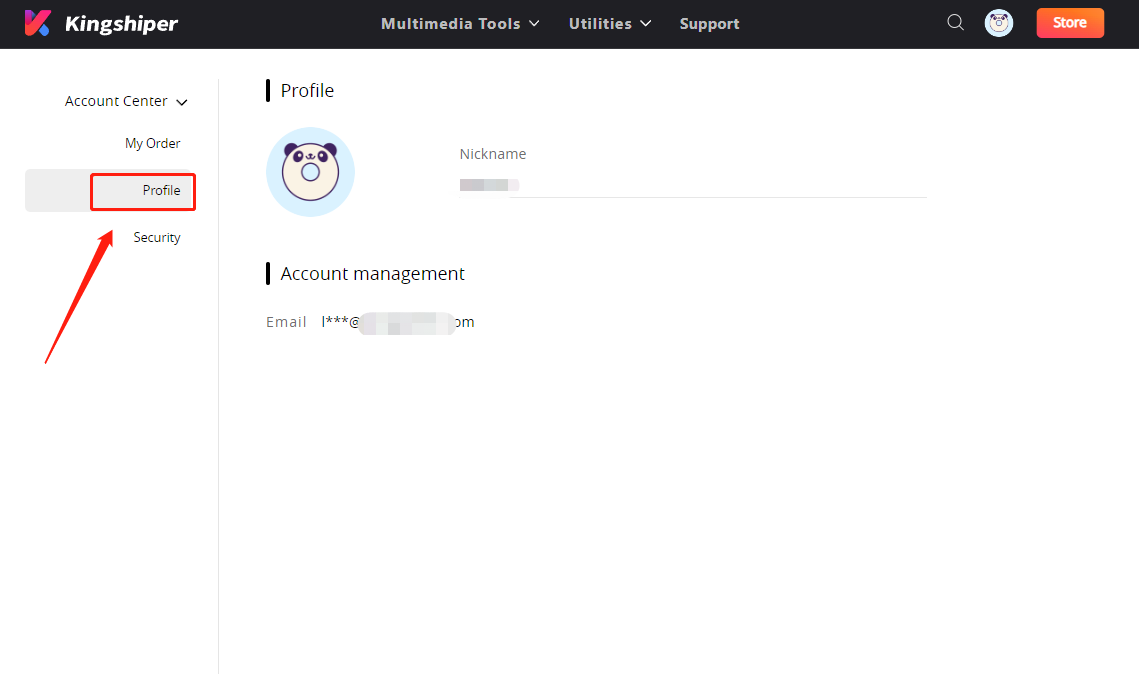
Profile: You can edit your personal information from this tab.

image.png

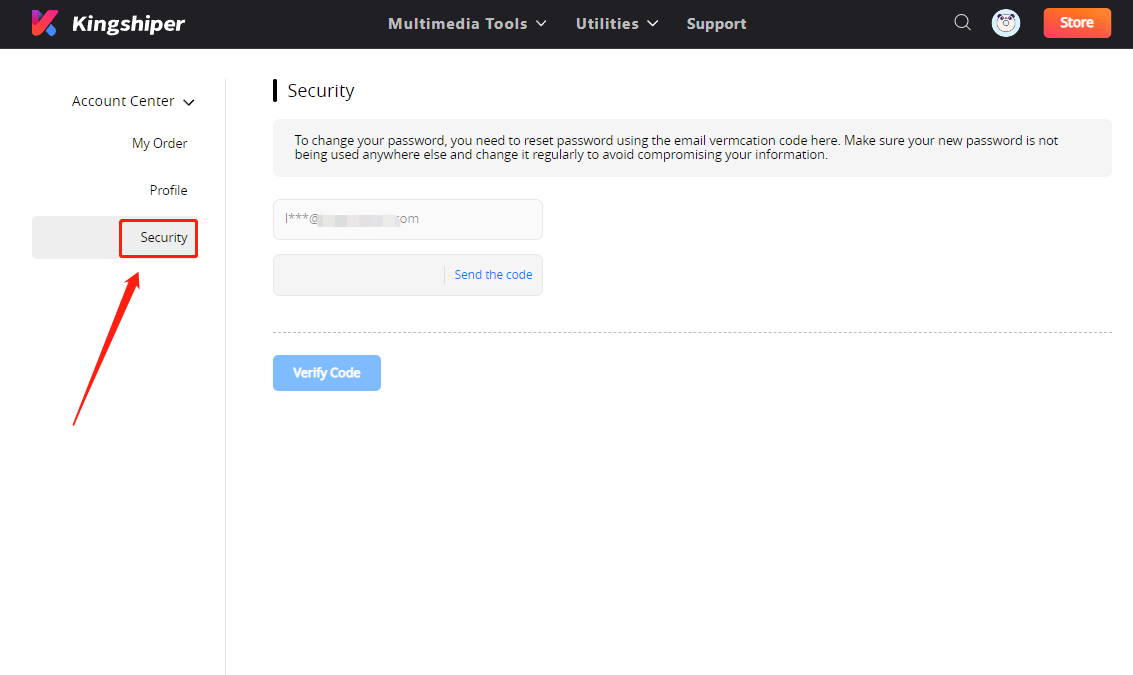
Security: You can change your password here.

image.png

1.2.6  Update

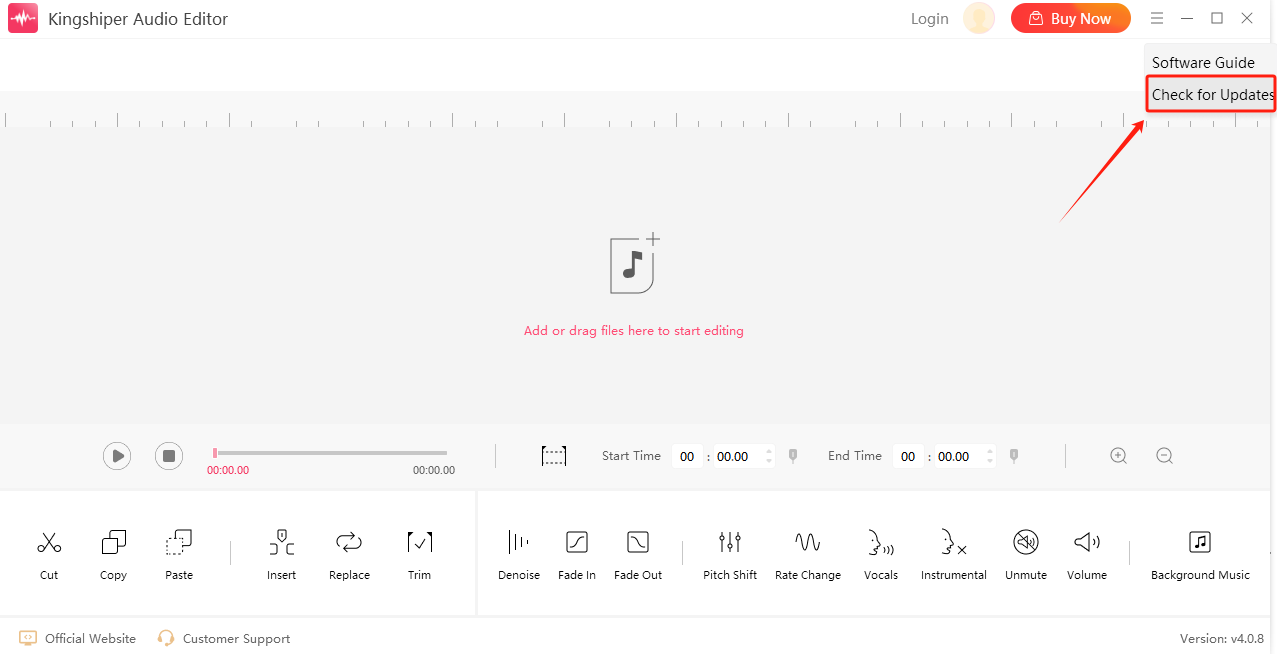
If you want to check if your Kingshiper Audio Editor is the latest version and update it, you can follow the steps below to update automatically.

Step 1. Check for Updates.

Go to the “Menu” icon, and click the “Check for Updates”. It will pop up a Live Update window, please press “Go to Update” to download the package.

image.png

Step 2. Update the package.

After downloading the latest version, please press “OK” to terminate the program and install the new version from the pop-up window. You can also click "Cancel” to install it next time.

1.2.7  Uninstall

Go to Control Panel > Programs >Programs and Features > Uninstall and then right-click the icon of Kingshiper Audio Editor and select Uninstall. Click OK when asked "Are you sure you want to completely remove "Kingshiper Audio Editor" and all of its components?"

image.png

1.3  Brief Introduction


Thank you for your interest in Kingshiper Audio Editor which is a reliable and efficient audio editing software. It offers denoise, fade in and out, pitch shift, rate change, vocals, instrumental and other functions. With its user-friendly interface and robust set of features, Kingshiper is your go-to solution for enhancing and transforming your audio recordings.


Supported input audio formats: mp3、mp2、ogg、flac、m4a、wav、amr、ac3、wma、aiff、aifc、caf、m4r、aac、wv、mmf、ape、amr、au、voc、3gp、avi、flv、mkv、mov、mp4、mpg、swf、wmv、3gpp


Supported output audio formats: mp3、wav、ogg、flac、mp2、m4a、ac3、wma

2  How to Use Kingshiper Audio Editor

2.1  Shortcut Keys

There are some shortcut keys for you to better operate Kingshiper Audio Editor and be more efficient. After opening the program, you can refer to the following instructions to work.

Module  

 Command  

Windows Shortcuts

Edit

Control + C

Copy

Edit

Control + V

Paste

Edit

Control+ Z

Undo

Edit

Control + Y

Redo

Edit

Control + A

Select All

Edit

Control + X

Cut

Edit

Control + TTrim

Edit

SpacePlay

Edit

Control + mouse wheelZoom In/Out

2.2  Basic Editing

2.2.1  Copy/Paste

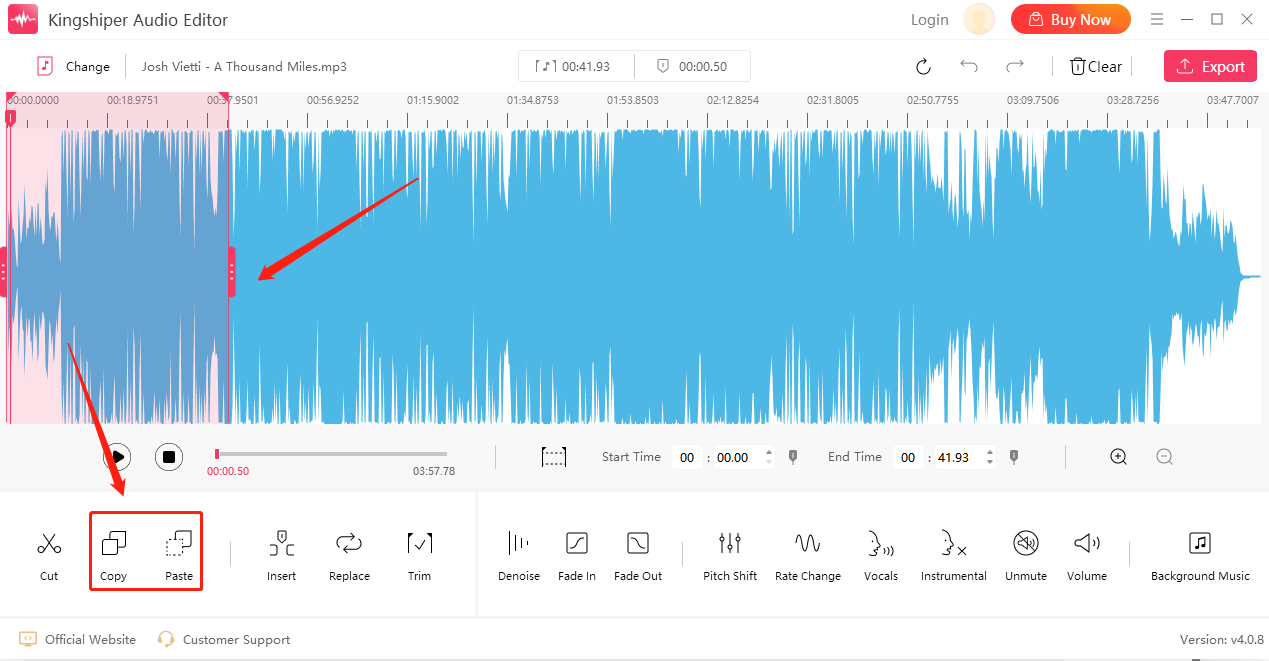
Select one clip of audio that we can copy and paste.

image.png

2.2.2  Cut

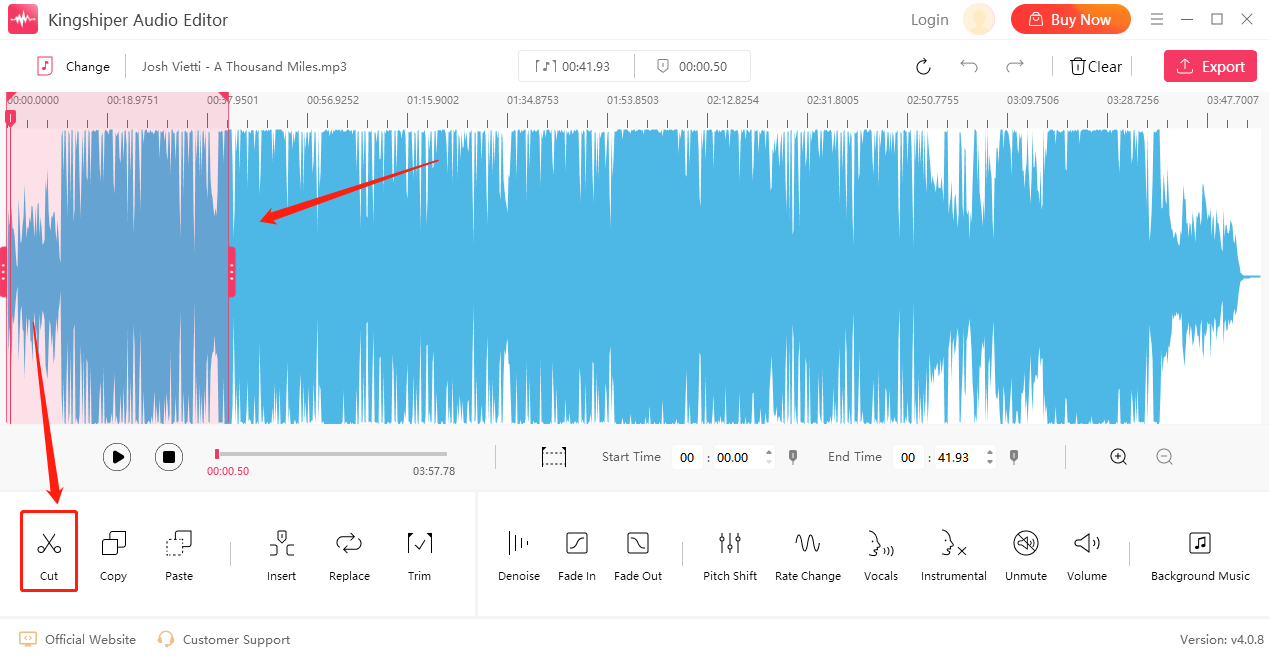
Select one clip of unwanted audio and click on the "Cut" button to delete it.

image.png

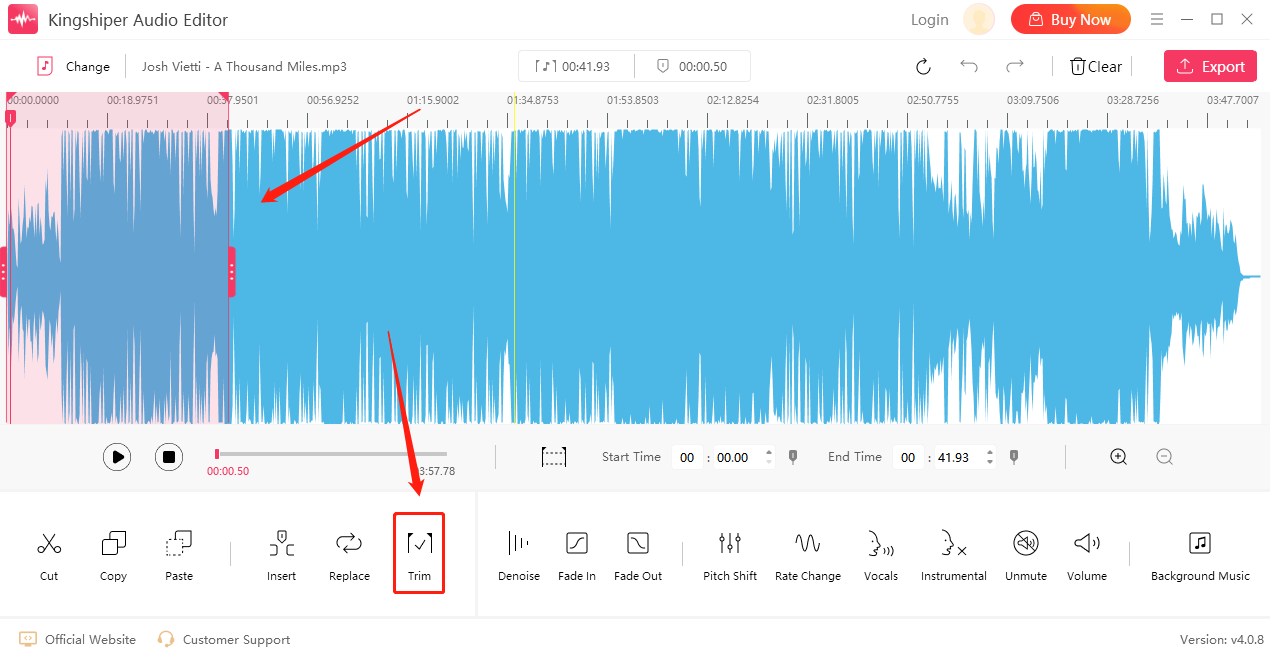
2.2.3  Trim

Click on the “Trim” button to clip and edit the parts of the audio file precisely.

image.png

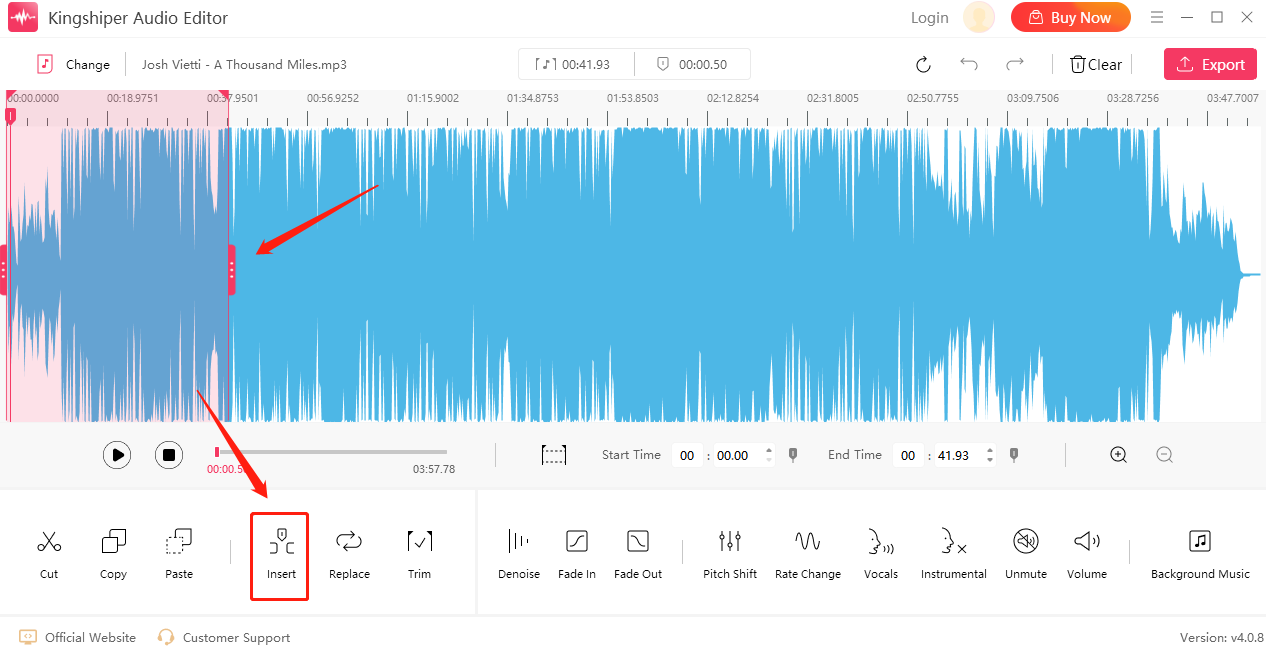
2.2.4  Insert

Click “Insert” to add a mute or new audio content to the original audio.

image.png

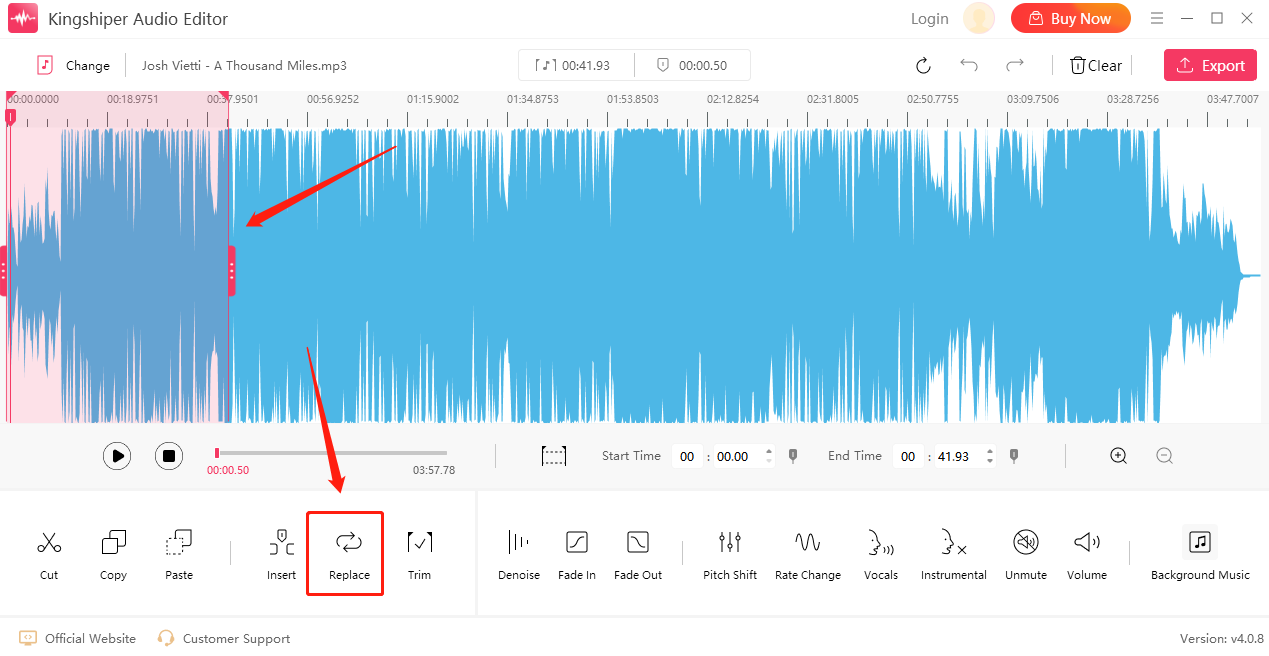
2.2.5  Replace

By clicking "Replace", it allows you to seamlessly swap or exchange parts of your audio with utmost precision and ease.

image.png

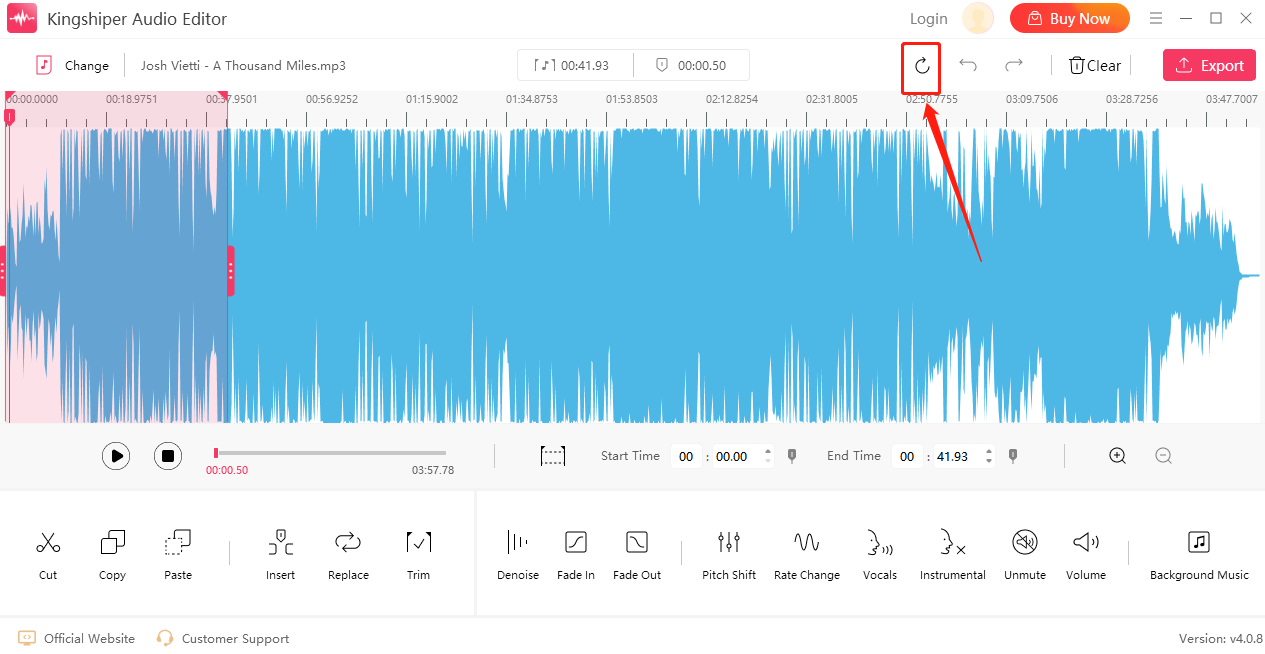
2.2.6  Reset

Click "Reset" to cancel all operations and restore the audio to its original state.

image.png

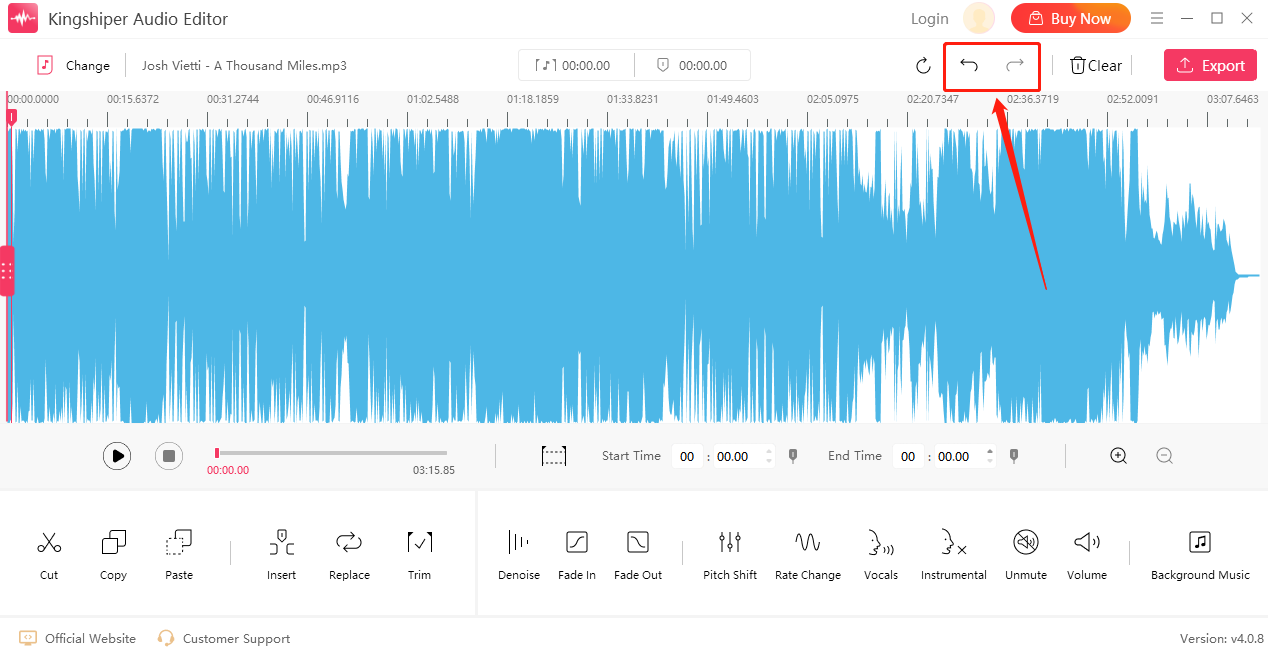
2.2.7  Undo/Redo

Select “Undo” to return to the previous operation and “Redo” to cancel all current operations.

image.png

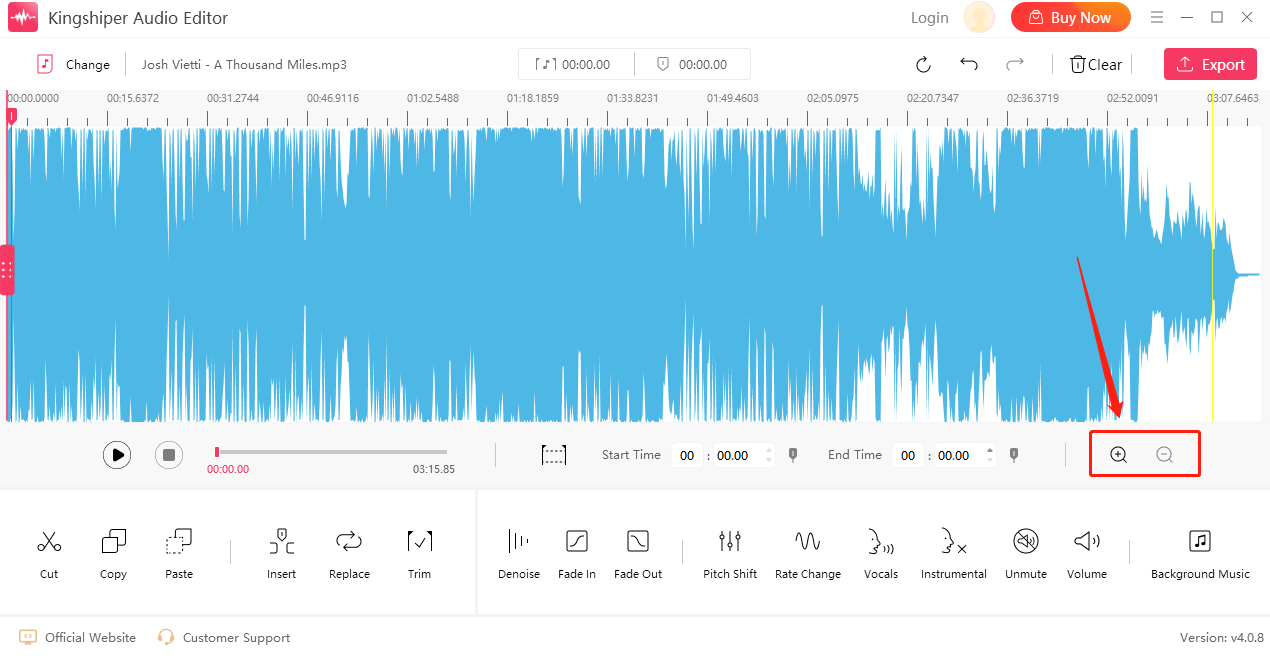
2.2.8  Zoom in/out

By selecting this operation, we can zoom in or out on the audio waveform graph for more accurate editing of the audio.

image.png 

2.3  Add Effects

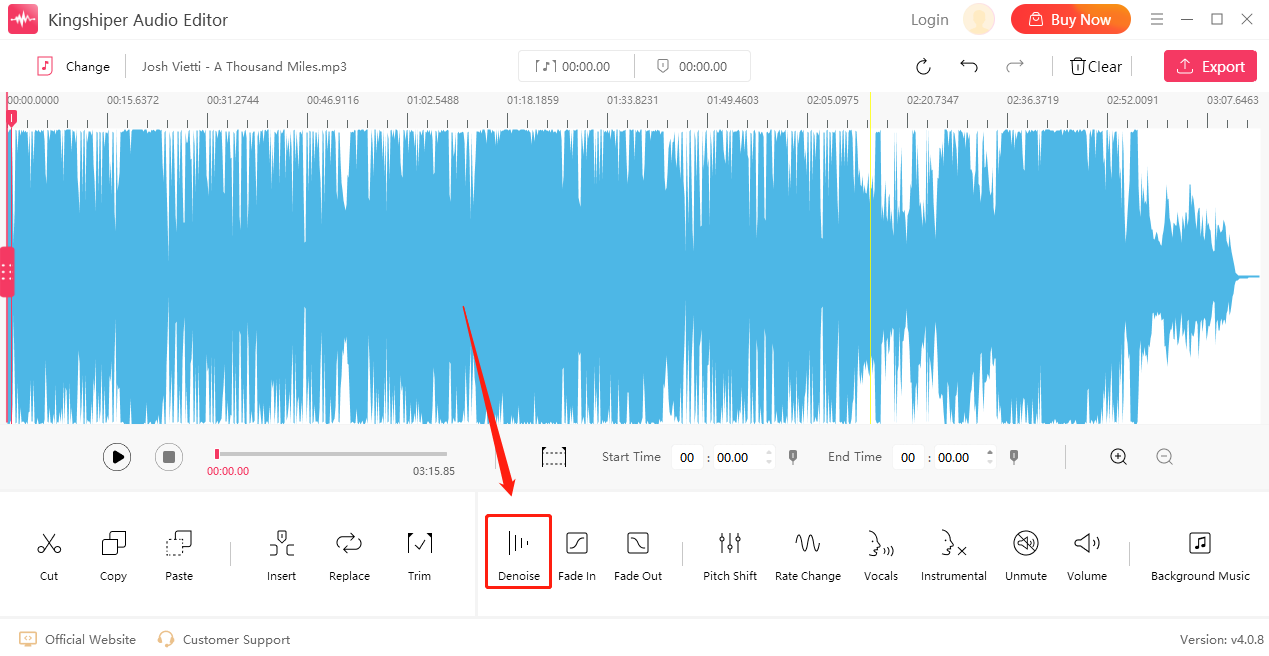
2.3.1  Denoise

If there is some irrelevant noise in the audio, then select “Denoise” for noise reduction.

image.png

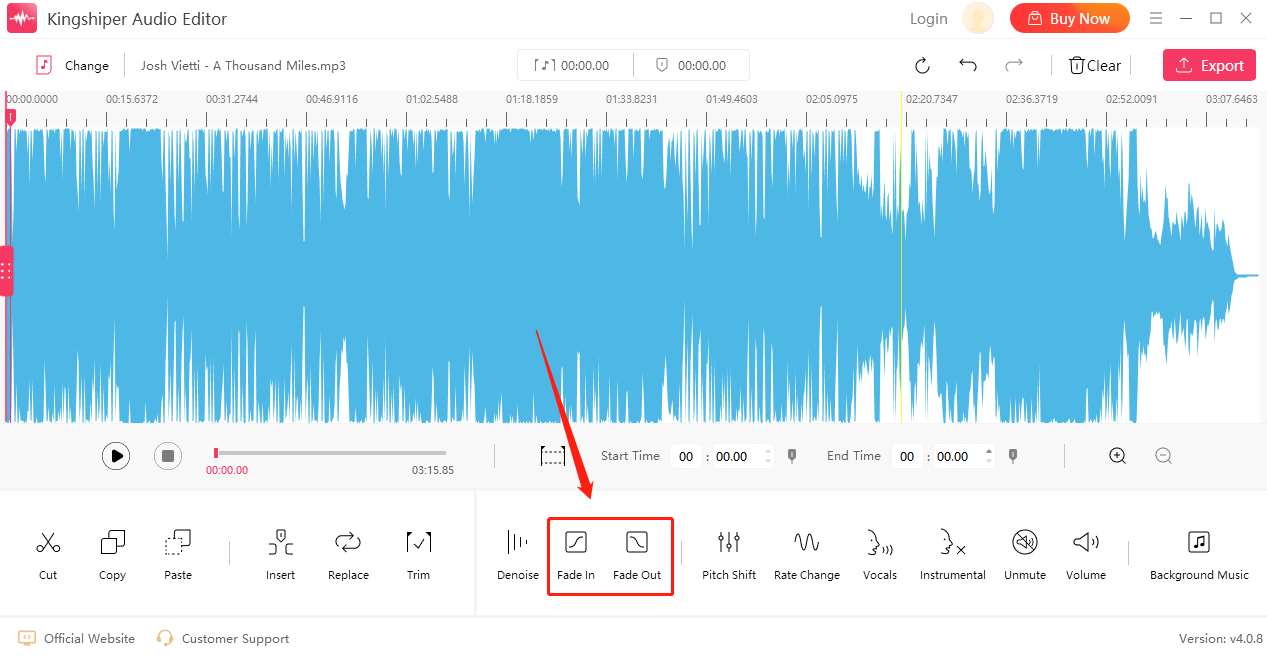
2.3.2  fade-in/out

If we want to achieve the effect of that progressive increase in volume at the beginning of a gradual decrease at the end of the audio, we can choose the “fade-in” or “fade-out”.

image.png

2.3.3  Pitch Shift

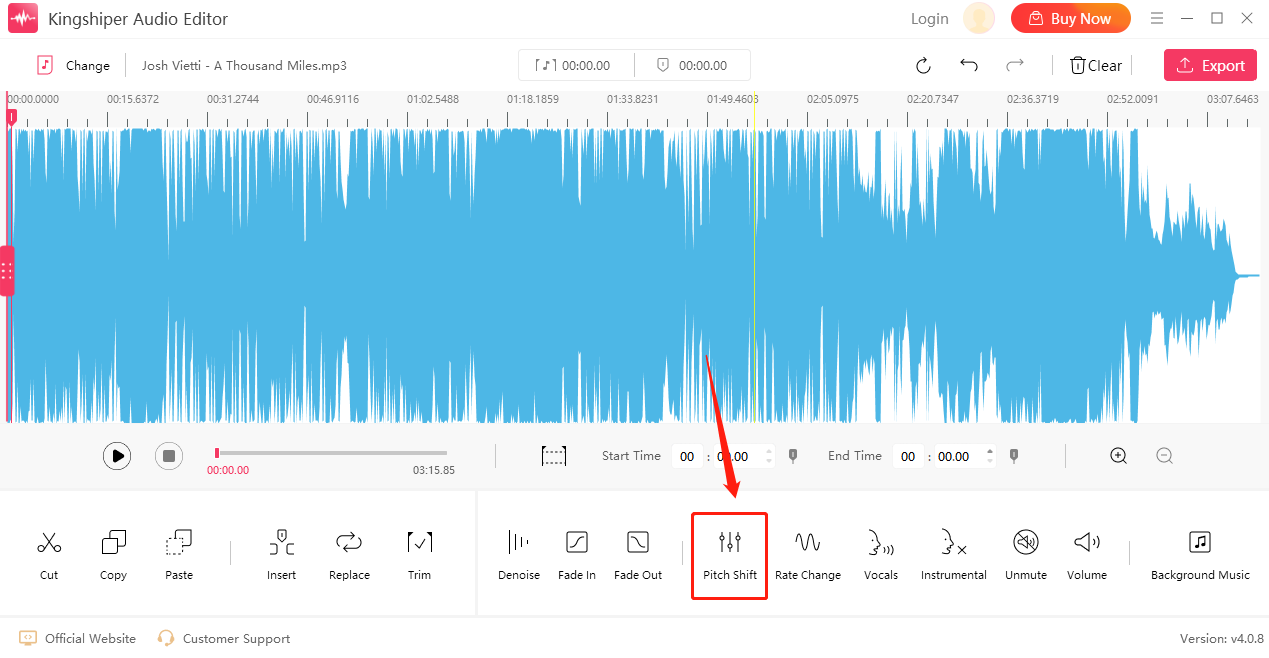
To change the pitch of the audio, select this effect; here you can change each parameter as per your request.

image.png

2.3.4  Rate Change

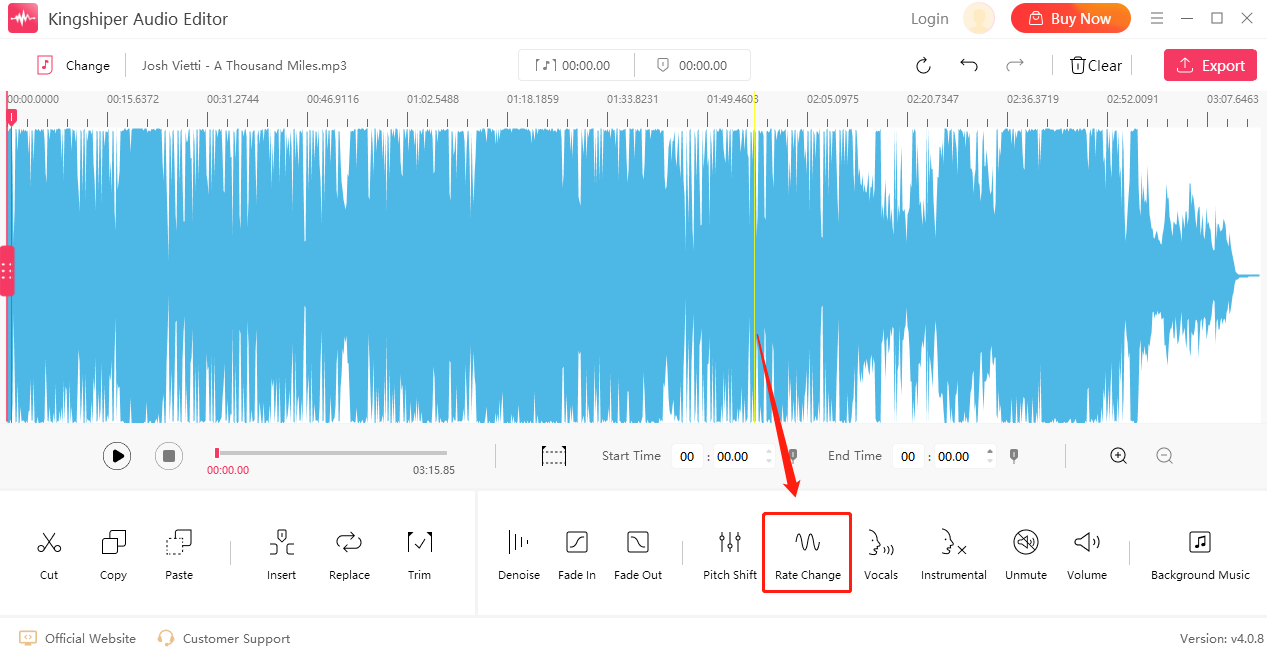
With this effect, we can adjust the multiplier speed and tone of the sound so that audio playback speeds will be changed.

image.png

2.3.5  Vocals

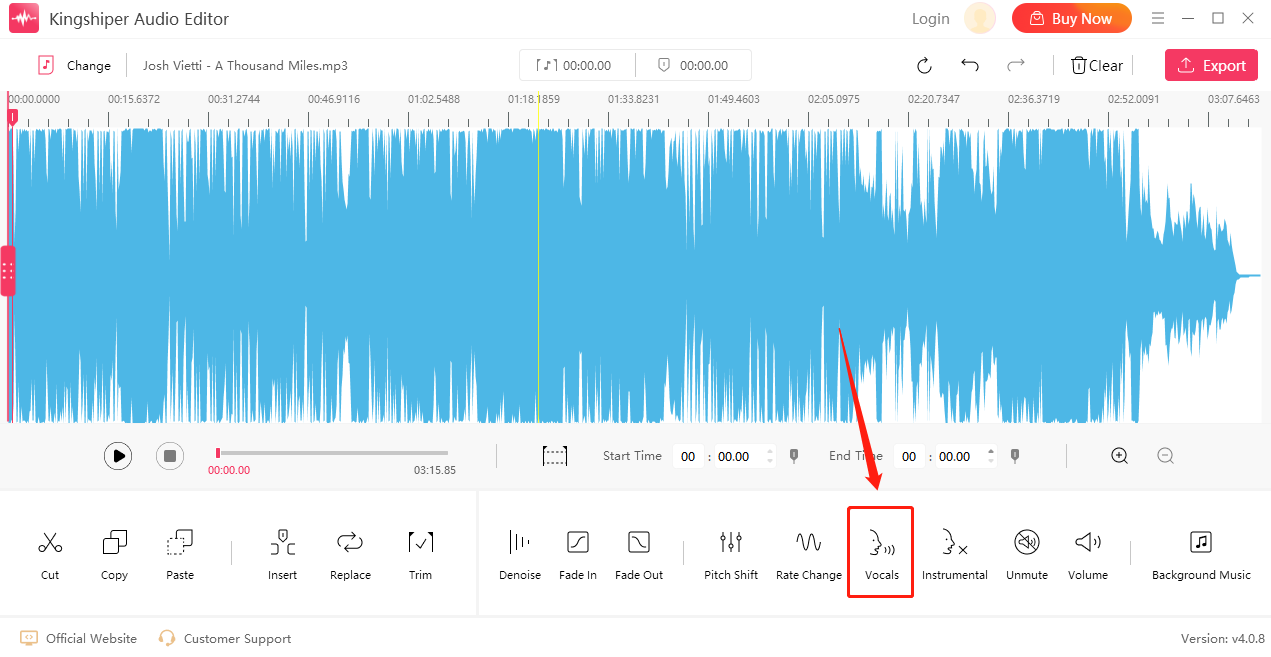
If you need to get the acapella from music and isolate the instrumentals, click "Vocals" to extract the vocals.

image.png

2.3.6  Instrumental

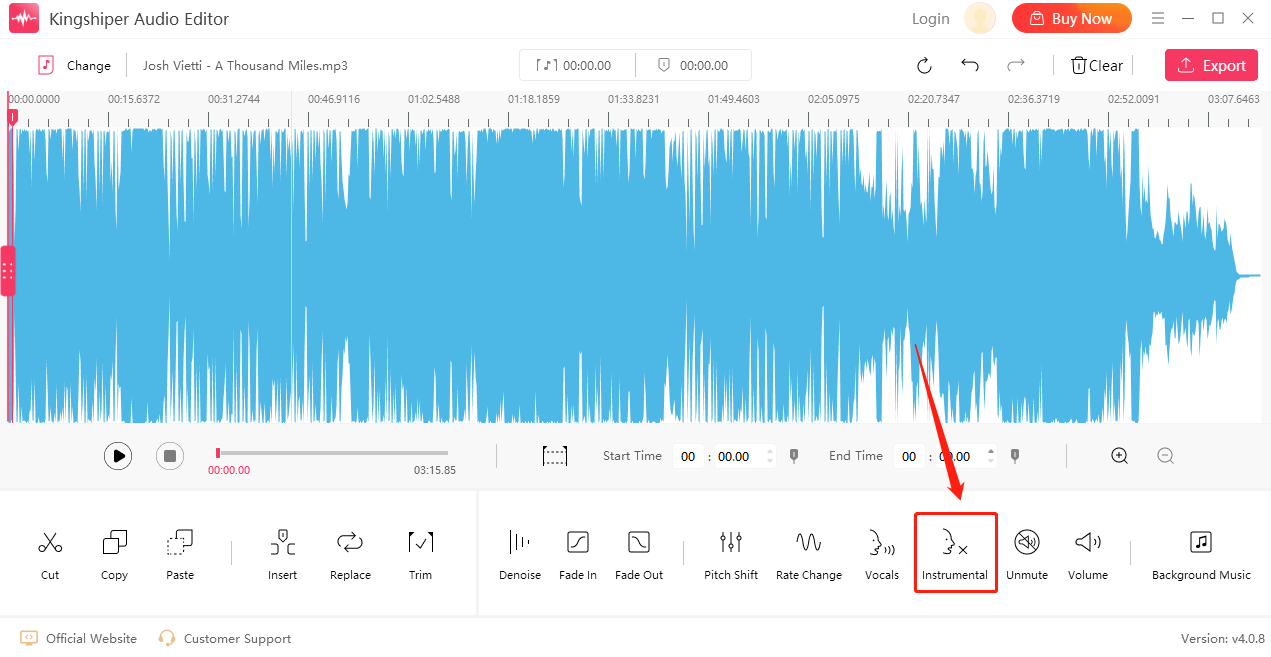
This feature analyzes the audio and intelligently separates vocals from the instrumental elements, you can effortlessly remove vocals from any song or audio file.

image.png

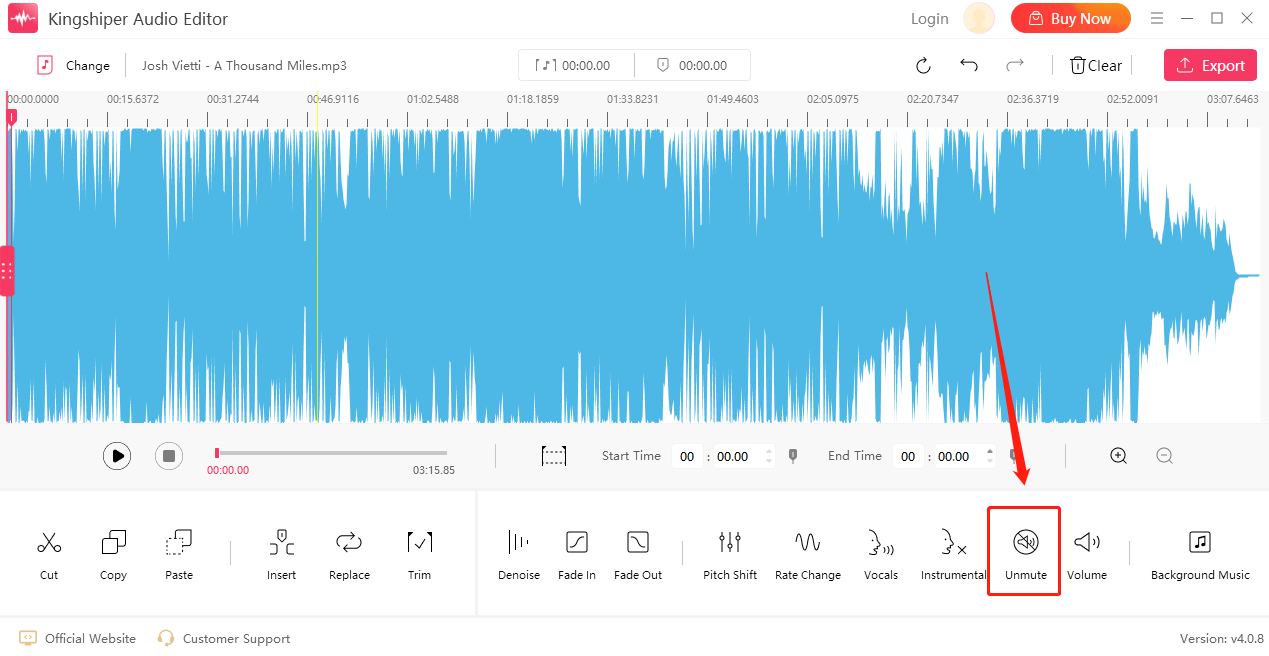
2.3.7  Unmute

If there are frequent muted parts in the audio, click on the "Unmute" button to quickly remove them.

image.png

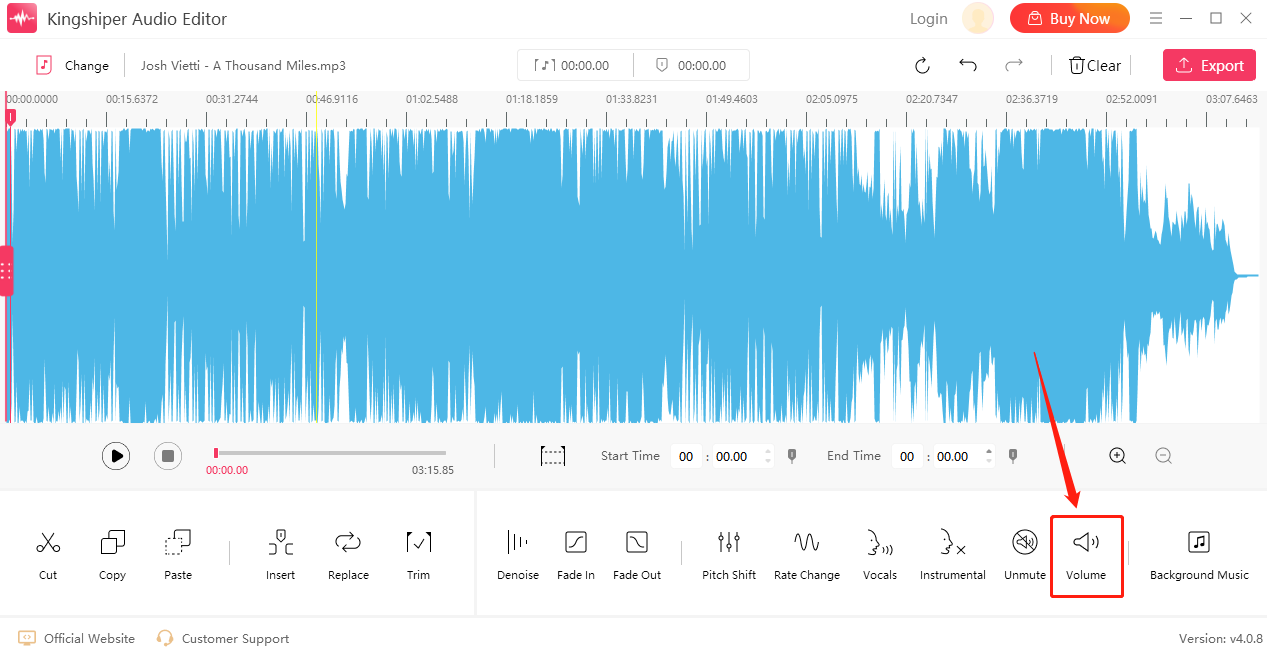
2.3.8  Volume

Select this effect to make an appropriate volume adjustment to the audio.

image.png

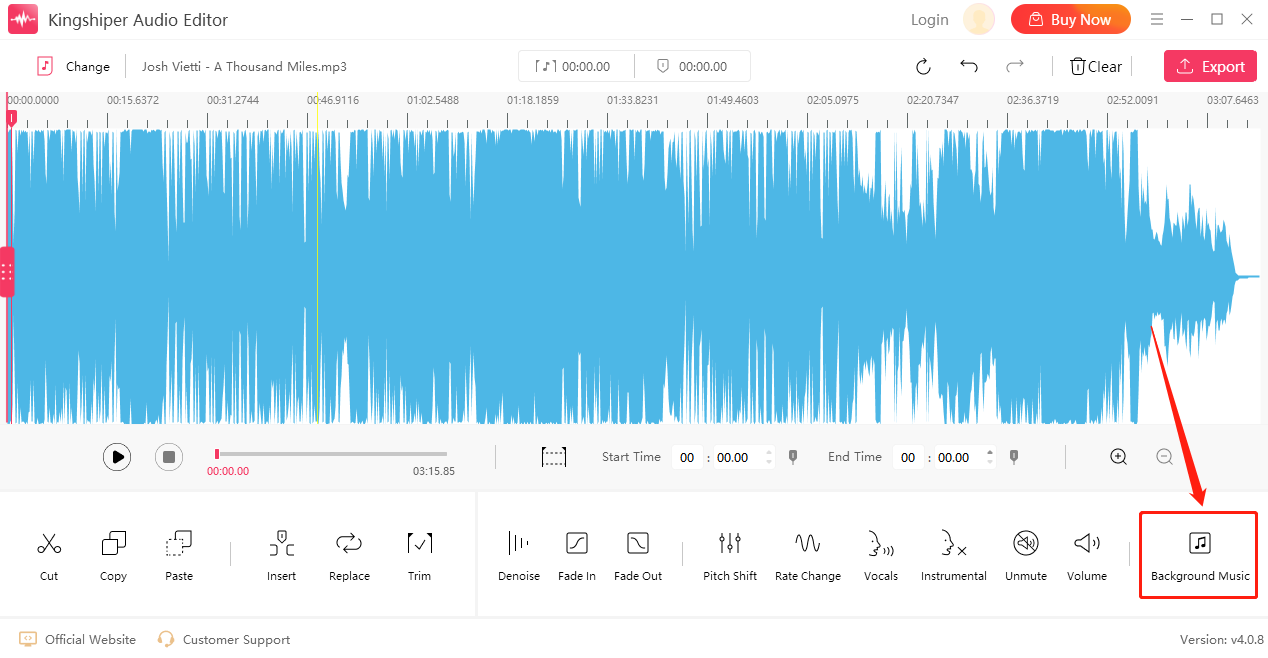
2.2.9  Background Music

Select one clip of audio you want to mix, and click on the “Background Music” button, then two different audio clips or different parts of the same audio clips will be mixed.

image.png

3  Support and Help

Didn't find what you were looking for? Need help with a problem? Have a suggestion? Contact our support team and we'll help you right away.

Submit Tickets: https://www.kingshiper.com/contact

Email: [email protected]